3 Best Assistant Pro Features to Help Grow Your Blog

As a blogger, you’ll need to consistently design, edit, and publish new posts to grow your following. However, without the right tools, you may struggle to stay organized.
Assistant Pro is a cloud-based database where you can import, export and save important WordPress content such as:
- pages
- posts
- templates
- images
- code snippets
- theme settings
- color palettes
Then, you can quickly and easily import these elements into your blog. It’s like DropBox for WordPress.
In this post, we’ll look at three Assistant Pro features that can help you grow your blog. Let’s get started!
Table of Contents:
- Best Assistant Pro Features to Help Grow Your Blog
- 1. Creating Libraries
- 2. Using the Content App
- 3. Importing Images
- Conclusion
- Related Questions
Best Assistant Pro Features to Help Grow Your Blog
Assistant Pro comes with several features that can help you grow your blog. For instance, you can save reusable elements to cloud-based libraries, use the Content app to quickly create new posts, and easily import images into your articles:
1. Creating libraries
One of Assistant Pro‘s best features is its libraries. These can store design assets like images, layout templates, web pages, color codes, and much more. Since Assistant Pro’s libraries are hosted on the cloud, you can access this content whenever and wherever you need it.
To get started, you’ll need to sign up for an Assistant Pro account. Then, go to Libraries > Create Library:
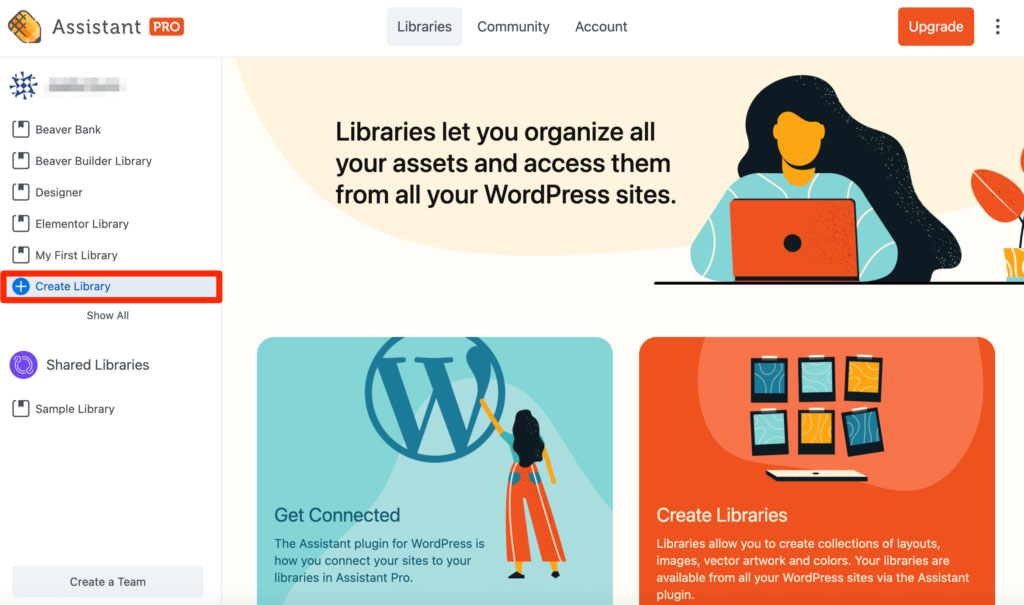
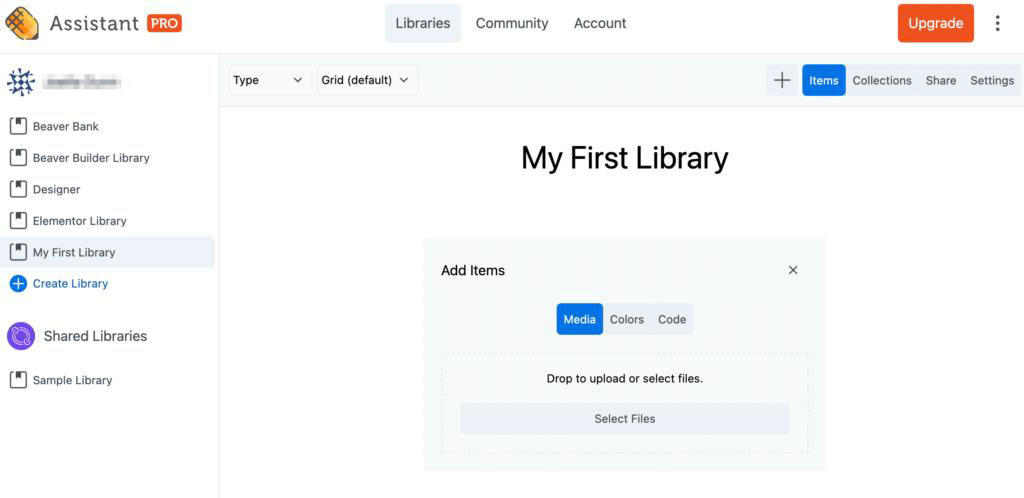
Name the new library and hit Enter. Now, you’ll be able to add design items for your blog. For example, you can upload media files, colors, and even custom code:

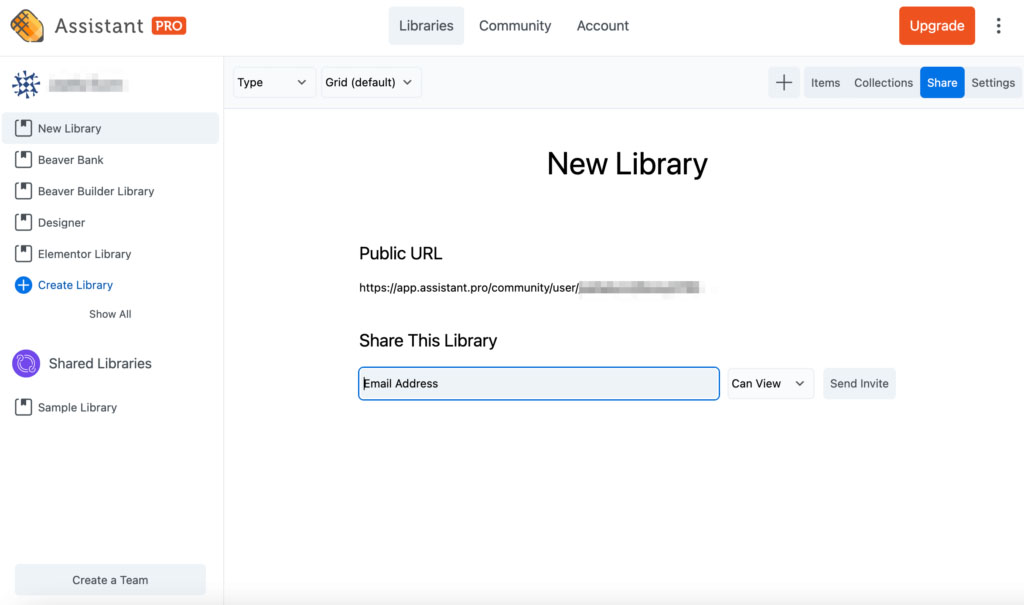
As a blogger, you’ll likely work independently on your website. However, Assistant Pro makes it easy to share your library with other collaborators. If you work with a designer or developer, this can be a useful feature:
Plus, you can save libraries by other creators. To do this, go to Community and select a creator profile:
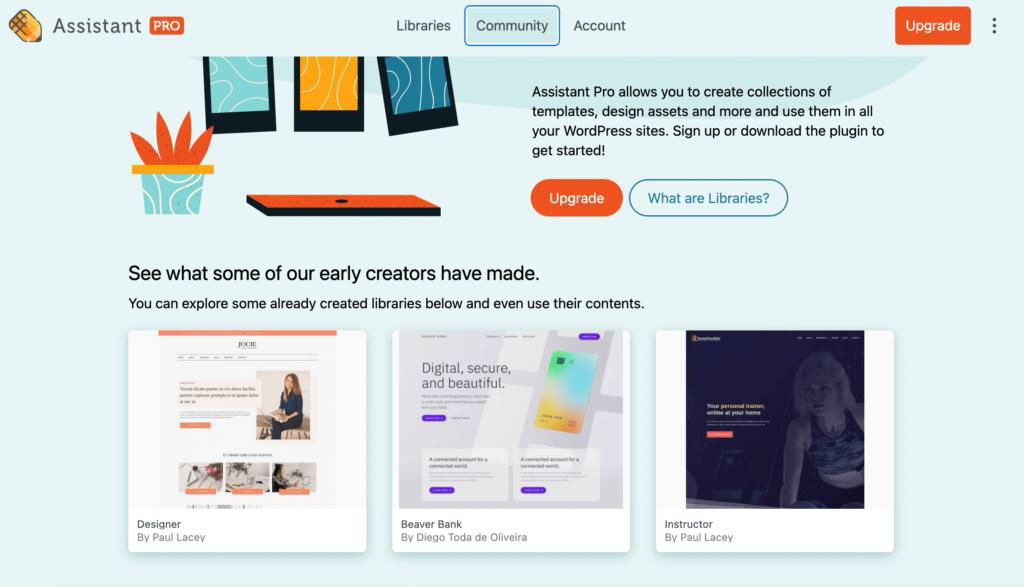
Once you find a library you like, click on Duplicate. This will save the items within that library to your profile:

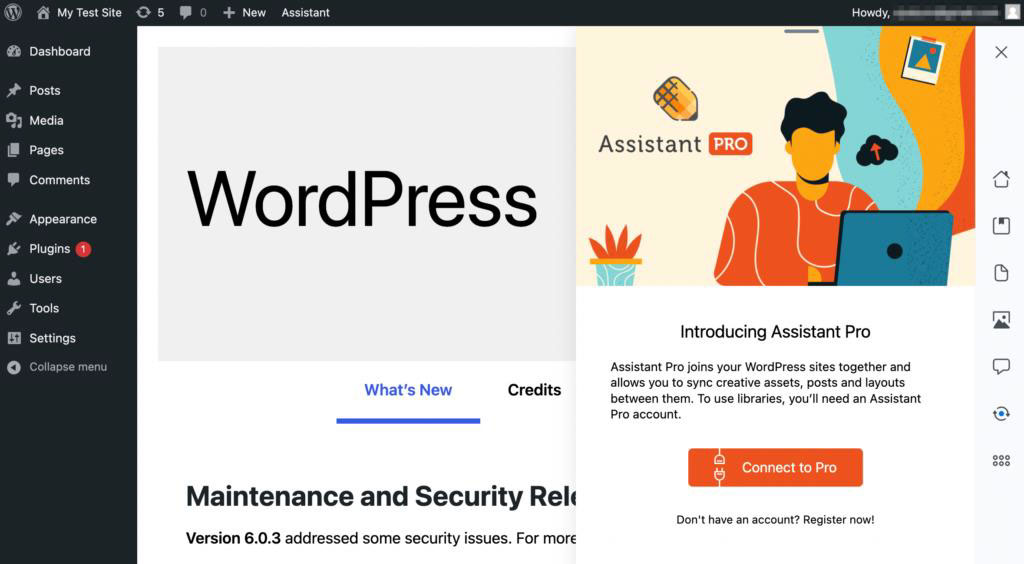
When you’re ready to use these elements, go to your WordPress dashboard and install the Assistant plugin. Once you activate it, you can connect your account:
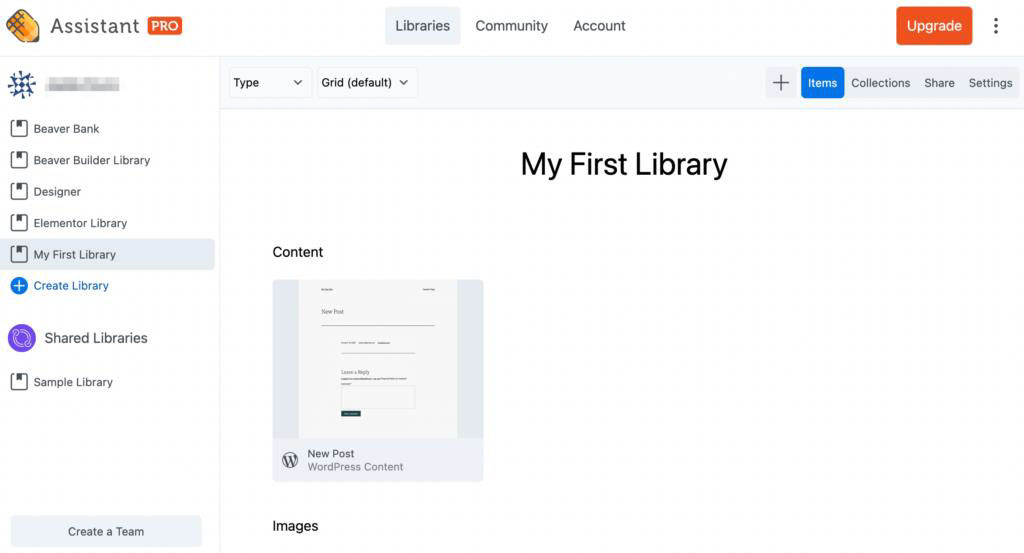
Next, click on the Libraries app on the right-hand side of the page. Here, you’ll see a list of your Assistant Pro libraries:
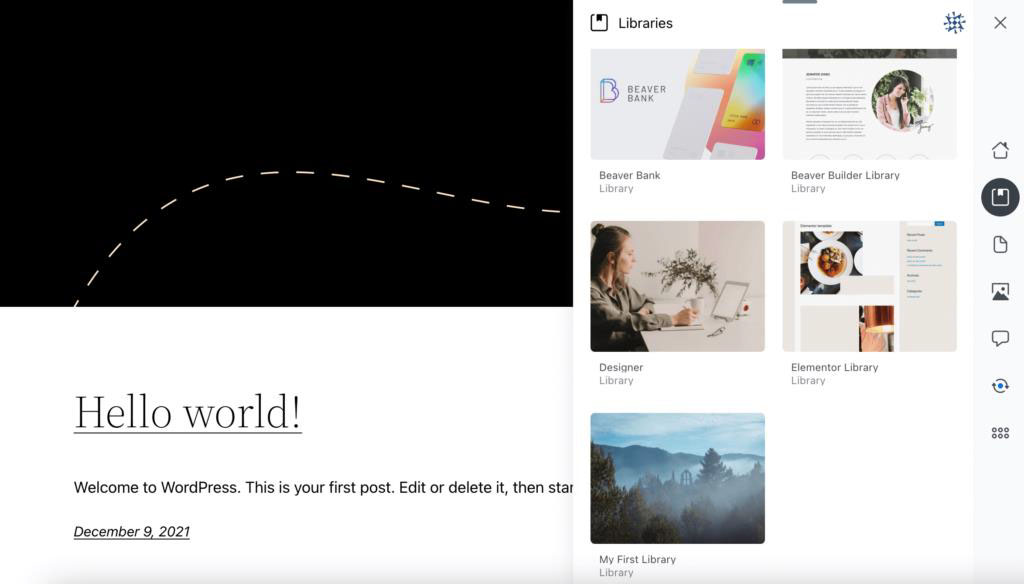
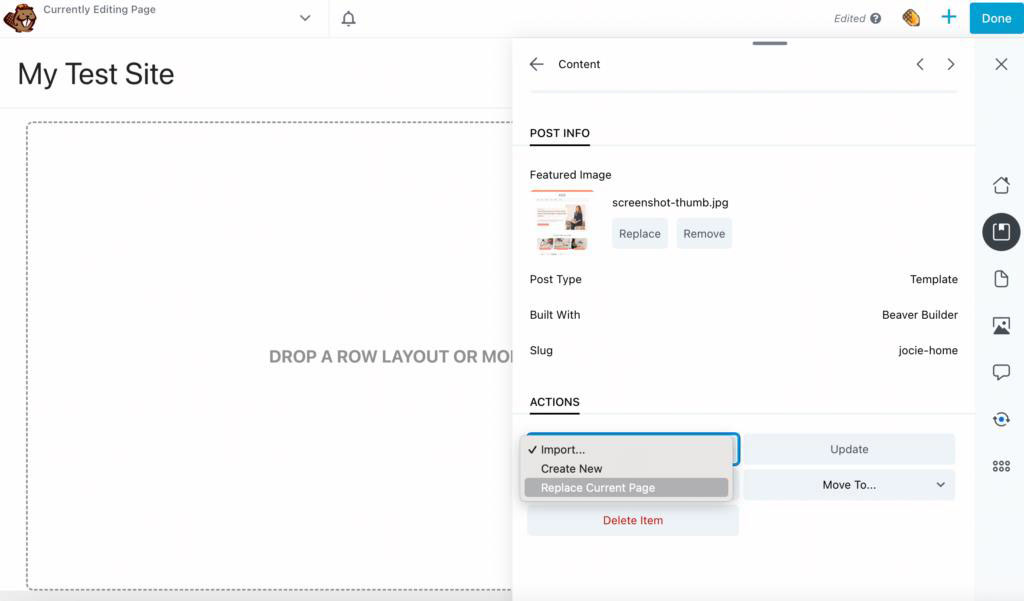
Select a library to view its content. To use an item in your blog, click on it and select Import. You also have the option to replace the page you’re working on with an imported layout:
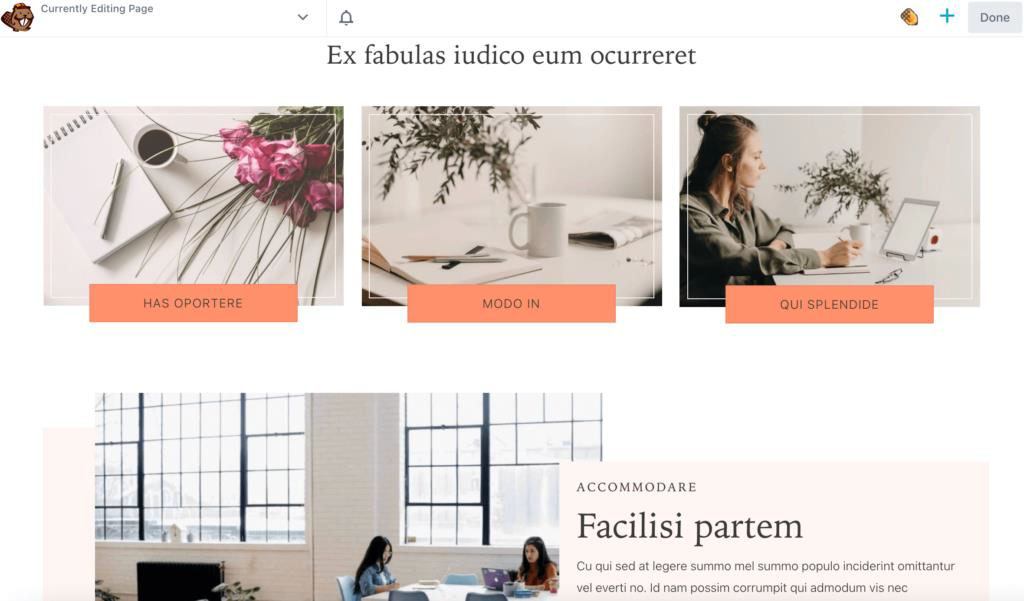
This can help simplify the design process. Instead of creating each post or page from scratch, you can quickly implement advanced layouts, media files, and colors from Assistant Pro. Then, you can make a few edits with your favorite page builder to make each page unique:
Ultimately, libraries can make it easier to run your blog! By saving pages and other content, you can easily reuse them and even share design assets with other collaborators.
2. Using the Content App
When running a blog, you’ll have to consistently create new posts for your audience. You may also have to refresh older content to improve your Search Engine Optimization (SEO). After installation, Assistant Pro can simplify these administrative tasks.
Once you open Assistant Pro, you can click on the Content app. To create a new blog post, add a name for it and hit Enter:
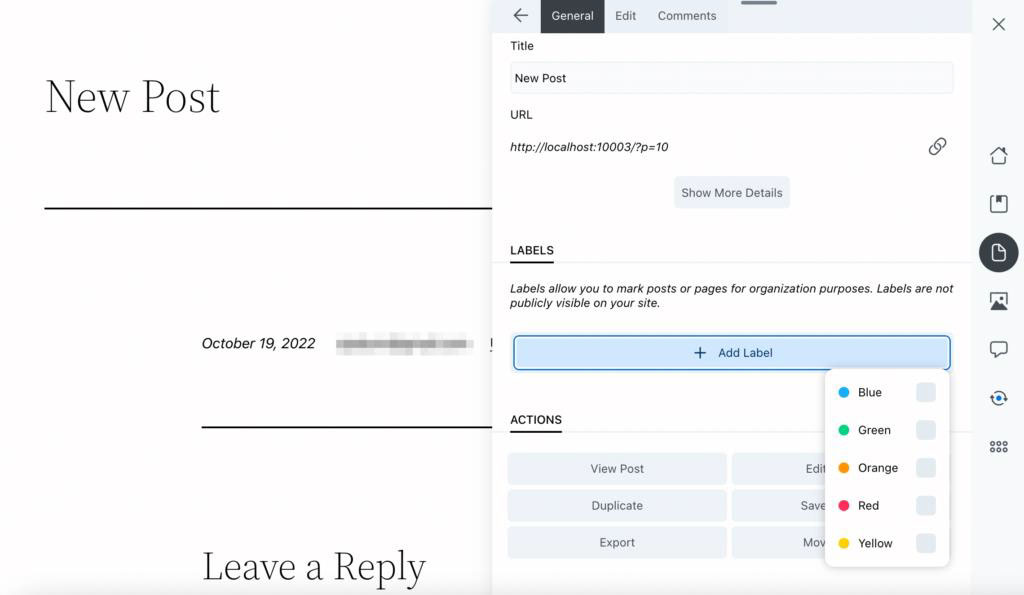
Then, you can view different editing options for this new post. In the General settings, you can add a post label, which can help you organize your content:
Assistant Pro also enables you to save posts to your libraries. Select Save to Library and choose an option:

This will upload your post to the Assistant Pro cloud. If you need to quickly transfer this content to another blog such as when moving from staging to production, you can easily access it in your saved library:
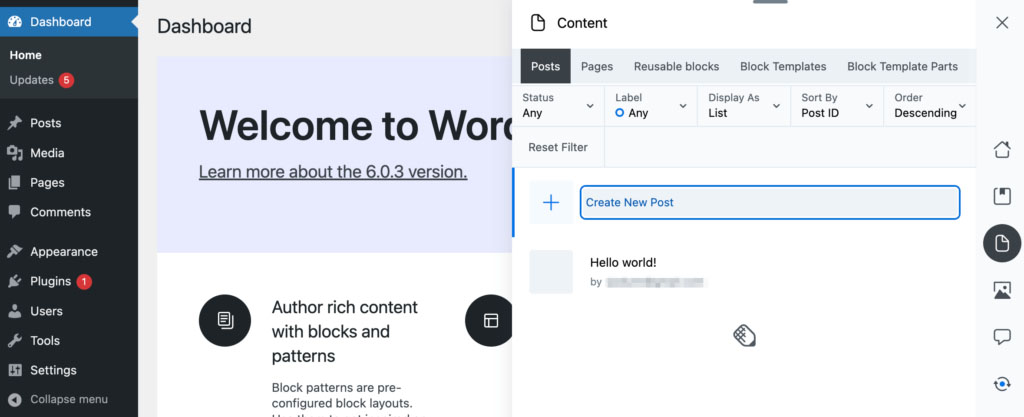
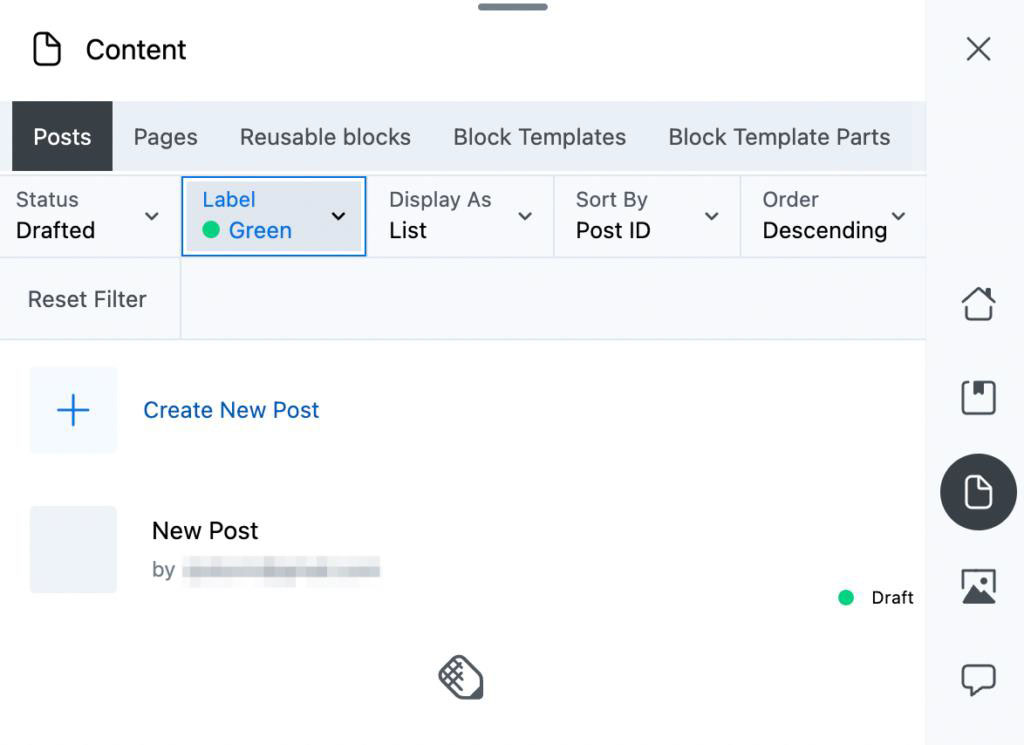
 In the Content app, you can use the dropdown menus to filter your post results. This can help you find and group certain content much faster than you would in the WordPress dashboard:
Plus, this feature lets you edit much more than just posts. The available options will depend upon which additional plugins you have installed on your site.
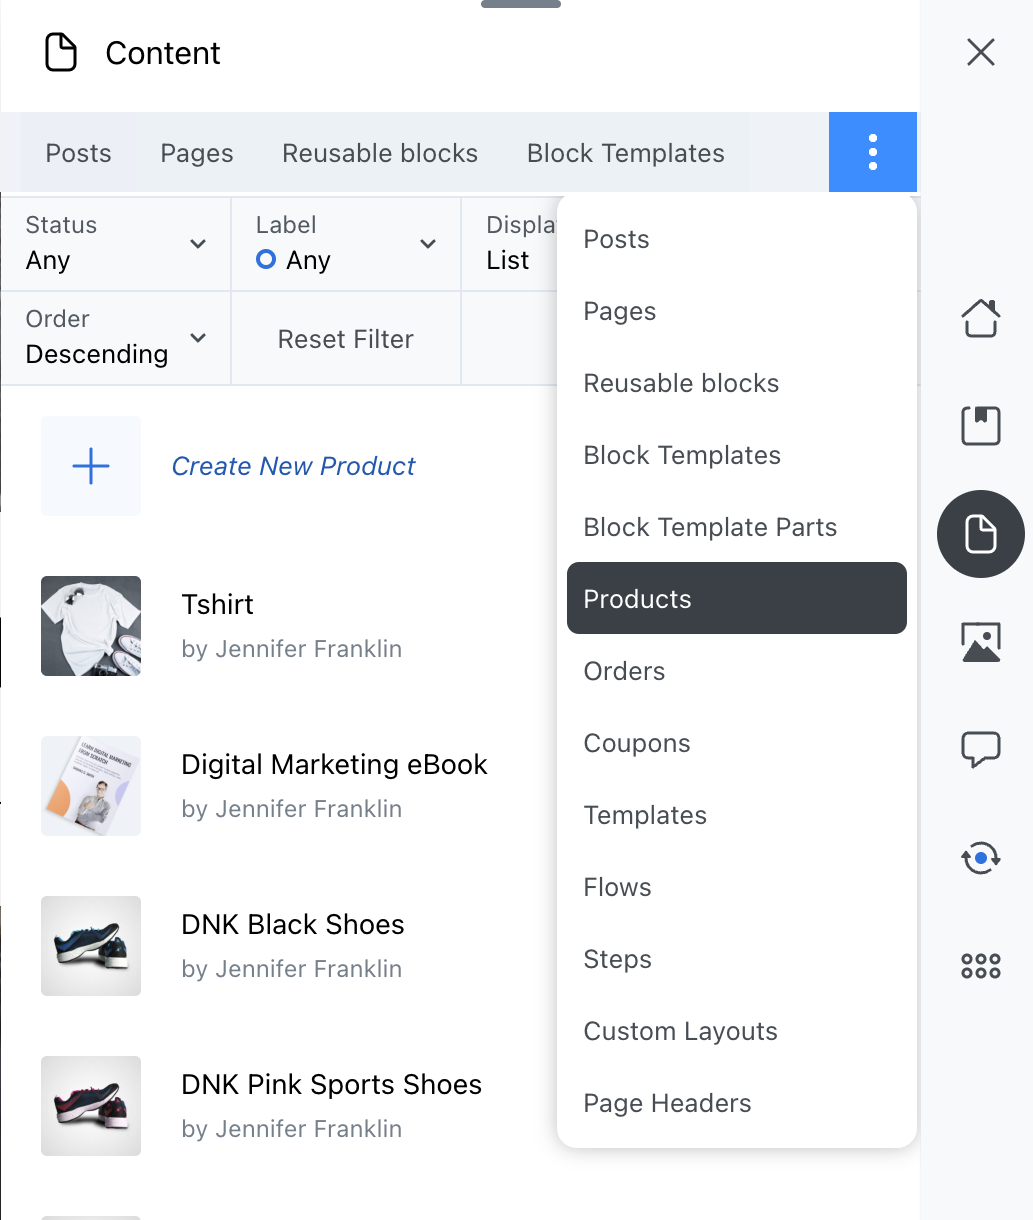
In the following example, we have the Beaver Builder page builder, Beaver Themer and WooCommerce installed on our demo site. Using the row of tabs, you can easily add and manage new pages, reusable blocks, page builder templates, WooCommerce products and more:
Although you can perform all of these tasks in WordPress, Assistant Pro makes this process easier and much faster. This can help you quickly update your blog with new content and start growing your audience.
3. Importing Images
Images are an important component of well-designed content. Often, photos can make your posts more interactive, memorable, and shareable. When you use titles and alternative text, images can even improve your SEO.
Therefore, you’ll want to keep your images organized. Without Assistant Pro, you’ll likely have to save photos to Dropbox, Google Drive, or on your computer’s desktop. These options won’t be easily accessible from your WordPress dashboard.
Fortunately, Assistant Pro makes it easy to add images to the cloud. You can simply create a new library, then upload your media files to it:
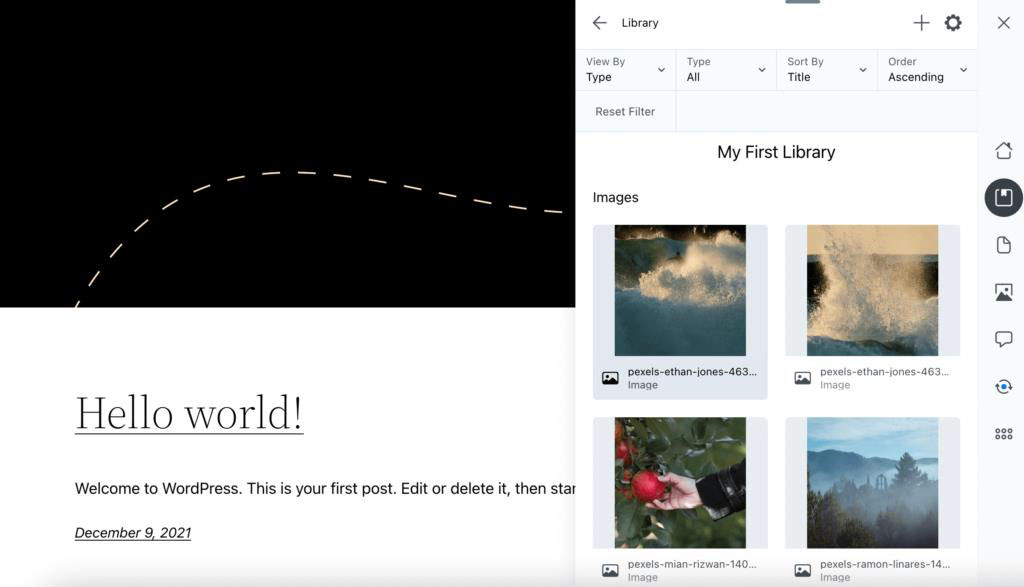
Next, open Assistant Pro in WordPress and click on the library that contains the image files. Select the image you want to import:
This will open a page with the image details. To import the image, scroll to the bottom and select Import:

Your image will be automatically uploaded to your WordPress Media Library. With Assistant Pro, you can avoid importing images multiple times for different design projects. Instead, you can simply access your Assistant Pro library whenever you need it.
Conclusion
With a tool like Assistant Pro, you can maximize your productivity and ultimately become more efficient and organized when managing your blog. By optimizing your workflow, you can publish more posts and drive more traffic to your site.
Related Questions
How can I make my blog grow faster?
By using time-saving tools like Assistant Pro, you can produce more blog content and improve your ranking in search results. Additionally, you can increase organic traffic by focusing on SEO, making your blog mobile-friendly, and building email lists.
What features should a great blog include?
In general, blogs should feature easy navigation, comment sections, and social media integration. Most blogs display their posts in reverse chronological order so that users can see the newest content first. You can also consider adding a post archive and search boxes.