How to Add Creative Assets to WordPress Using Assistant Pro

As a professional web designer, you probably find yourself reusing elements like layouts, color schemes, and images across multiple sites. This process may involve recreating assets from scratch or downloading them to your computer and uploading them to your sites. Either way, you might be looking for a more efficient method.
The good news is that Assistant Pro can help you streamline the process and add creative assets, including complete website templates, to your WordPress sites with just a few clicks. First, you’ll need to upload your images, code snippets, templates, and other content to a library in Assistant Pro. Then, you can simply import these saved design assets into another website using the Assistant plugin.
In this post, we’ll look closely at how Assistant Pro works. Then, we’ll show you how to add creative assets to WordPress. Let’s get started!
An Overview of Assistant Pro
With Assistant Pro, you can easily organize your creative assets into libraries and use them on other WordPress sites:
What’s more, you can share these elements with other users. This feature makes Assistant Pro an ideal tool for web design agencies. It can help you maximize your productivity while facilitating seamless collaboration with other team members.
Assistant Pro is fully compatible with our Beaver Builder plugin. It also supports Elementor, the Block Editor, and other page builders. This means you can import, export, and share content created with these tools.
How to Add Creative Assets to WordPress Using Assistant Pro
Now, let’s look at how to use Assistant Pro to add creative assets to your WordPress site. For this tutorial, we’ll also be using Beaver Builder.
Step 1: Create an Assistant Pro Account
Before we begin, you’ll need to create an Assistant Pro account (you can get started with a free plan) and install the Assistant plugin on the sites you’re working on.
Once you’ve installed the plugin, you’ll need to connect it to your Assistant Pro account. To do this, click on the Assistant menu item located in the top level navigation of your WordPress dashboard.
Alternatively, you can access the Assistant sidebar from the front end of your WordPress site or via the Beaver Builder editor by clicking on the pencil icon:
![]()
This will launch the Assistant panel. Click on the Libraries icon and select Connect to Pro:
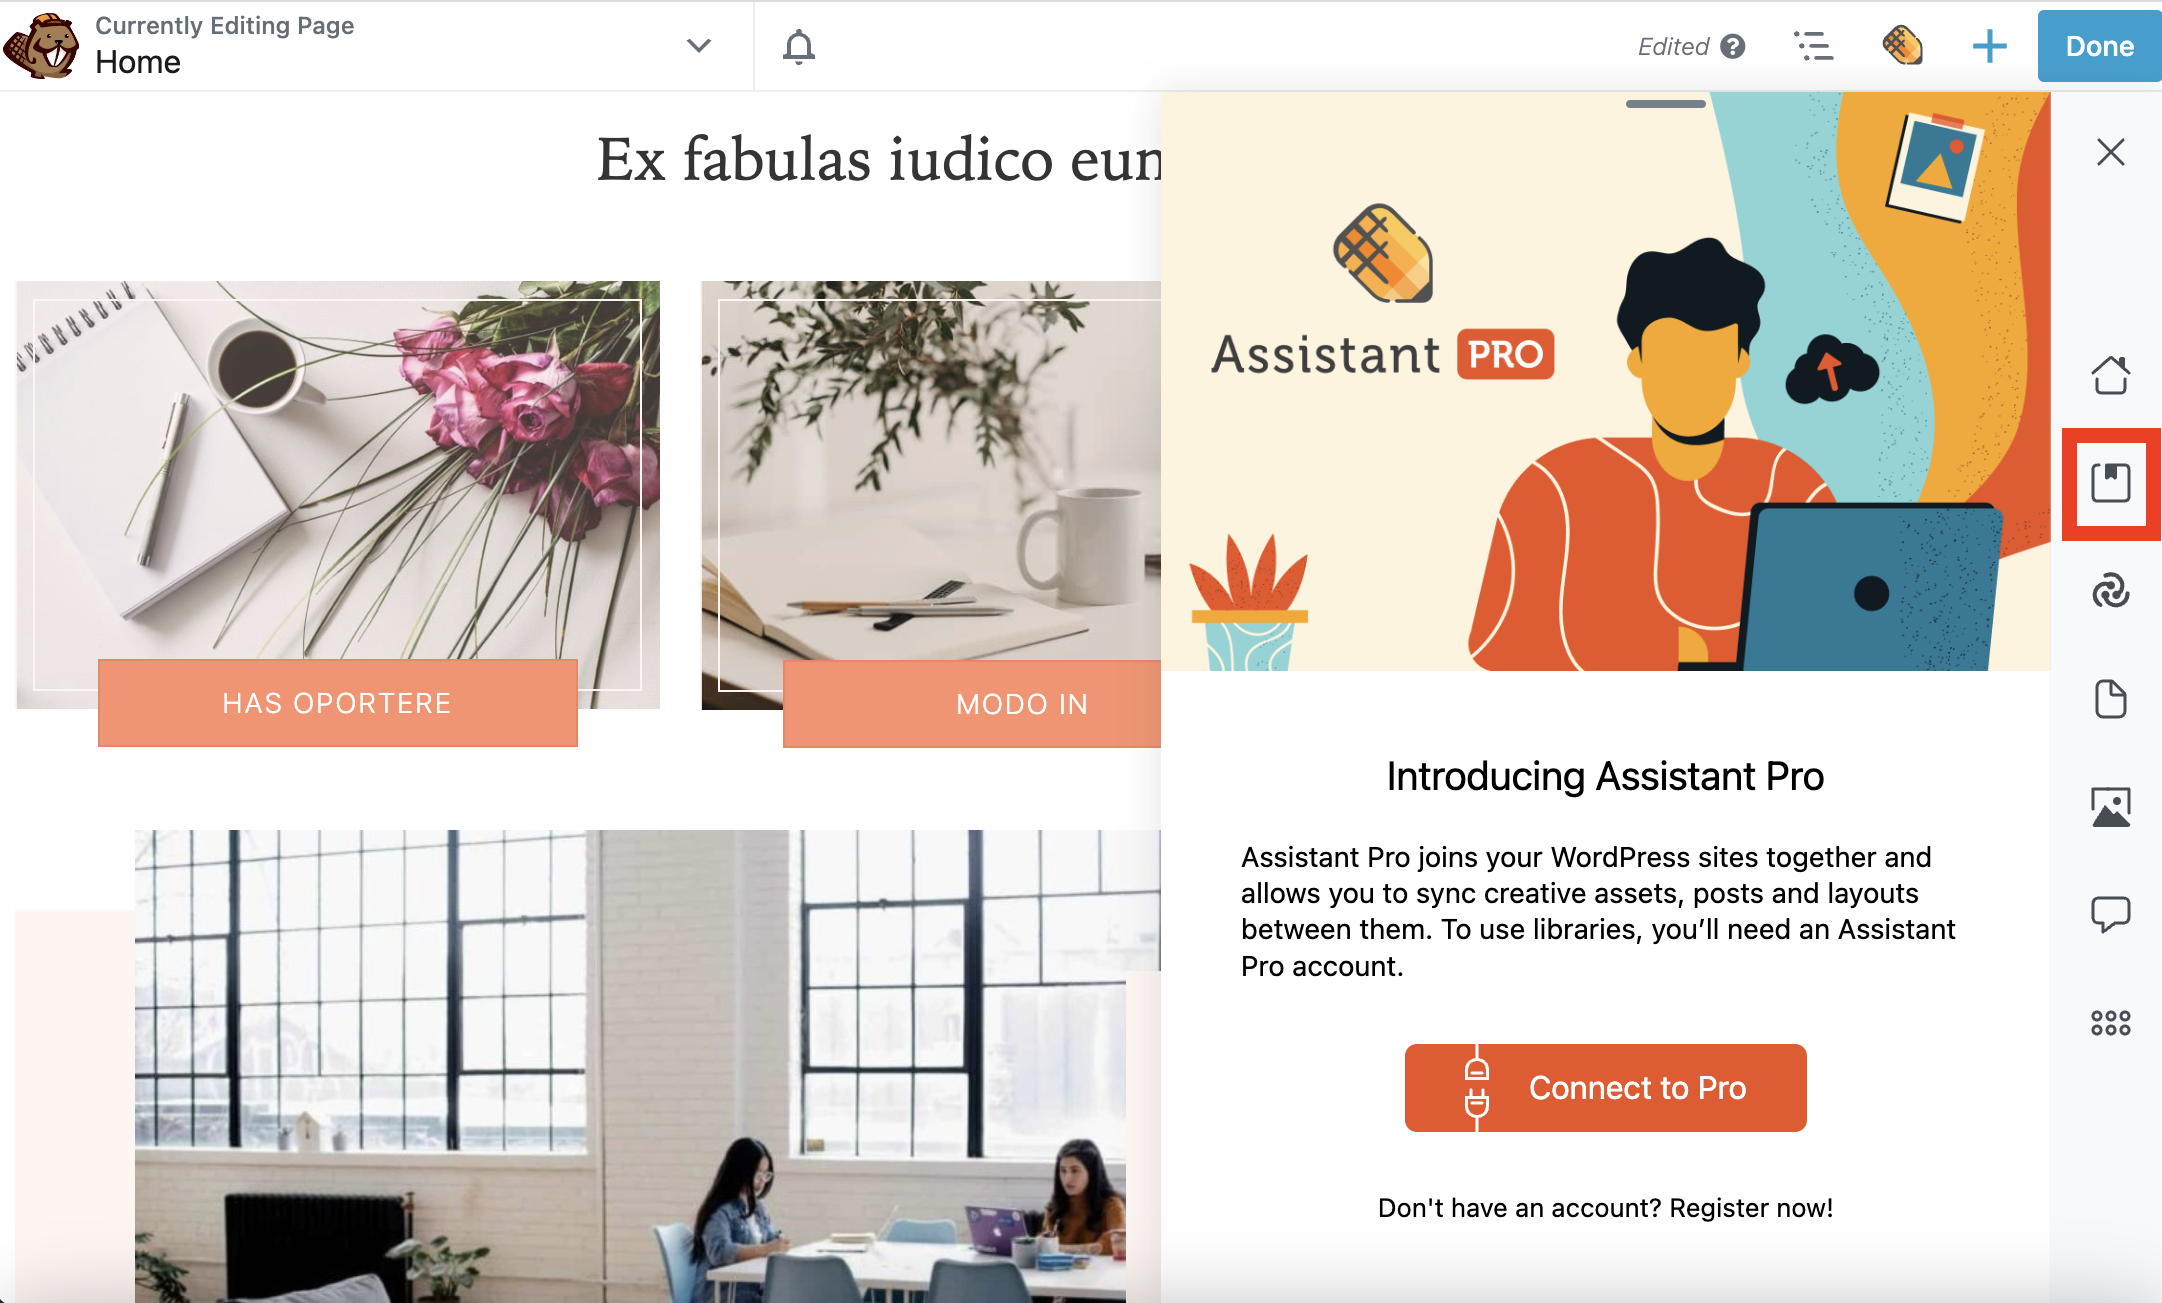
Once you’ve connected to your account, you can start using Assistant Pro on your site!
Step 2: Upload Your Content to Cloud Libraries
One of the best features of Assistant is that it allows you to upload and save your creative assets to libraries. In addition, you can further organize your library items into collections. For example, you might decide to organize your libraries by complete website templates.
To create a library, navigate to your Assistant Pro account, click on Create Library and enter a name:
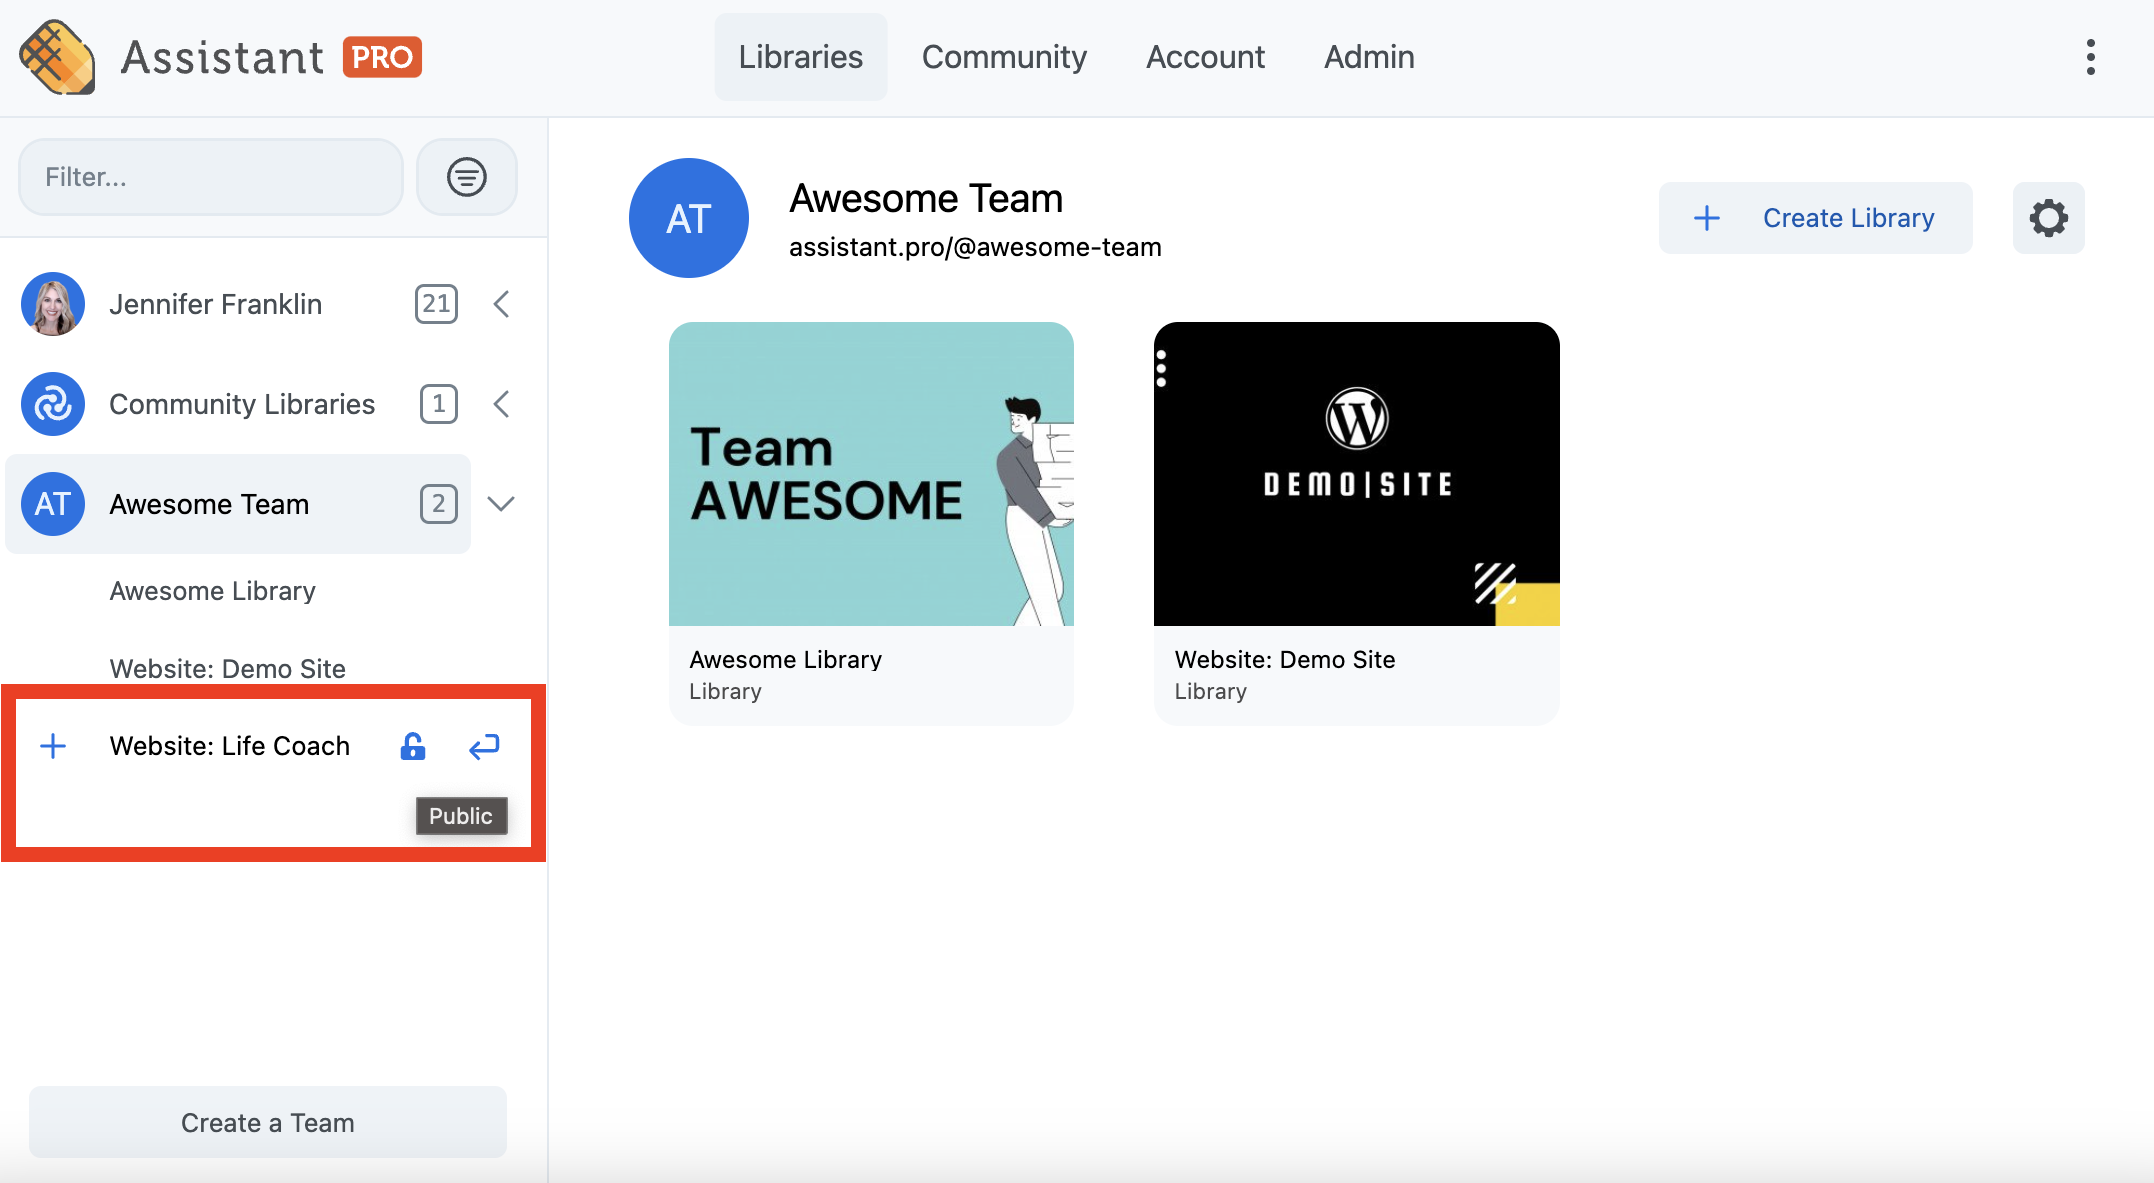
We’ve named ours “Website: Life Coach”. With a premium plan, you can click the padlock icon to set your library to private. Otherwise, the library will remain public. Click the arrow icon to create your new library.
On the next screen, select the type of content you want to upload. Choose from the following: media, colors or code snippets.
If you’re working with media, you’ll need to upload your files. Either click to Select Files or simply drag and drop the media files from your computer onto the page:

To add color codes to your library, click on the Colors tab. Then, enter a color value into the field or popup box. Click Add:

You might also want to save your code snippets so that you don’t have to search for them in the future. To do so, click Code. Give your code snippet a unique name. From the drop-down, select the appropriate code extension. In this example, we chose CSS. Next, paste your code into the field and click Add: 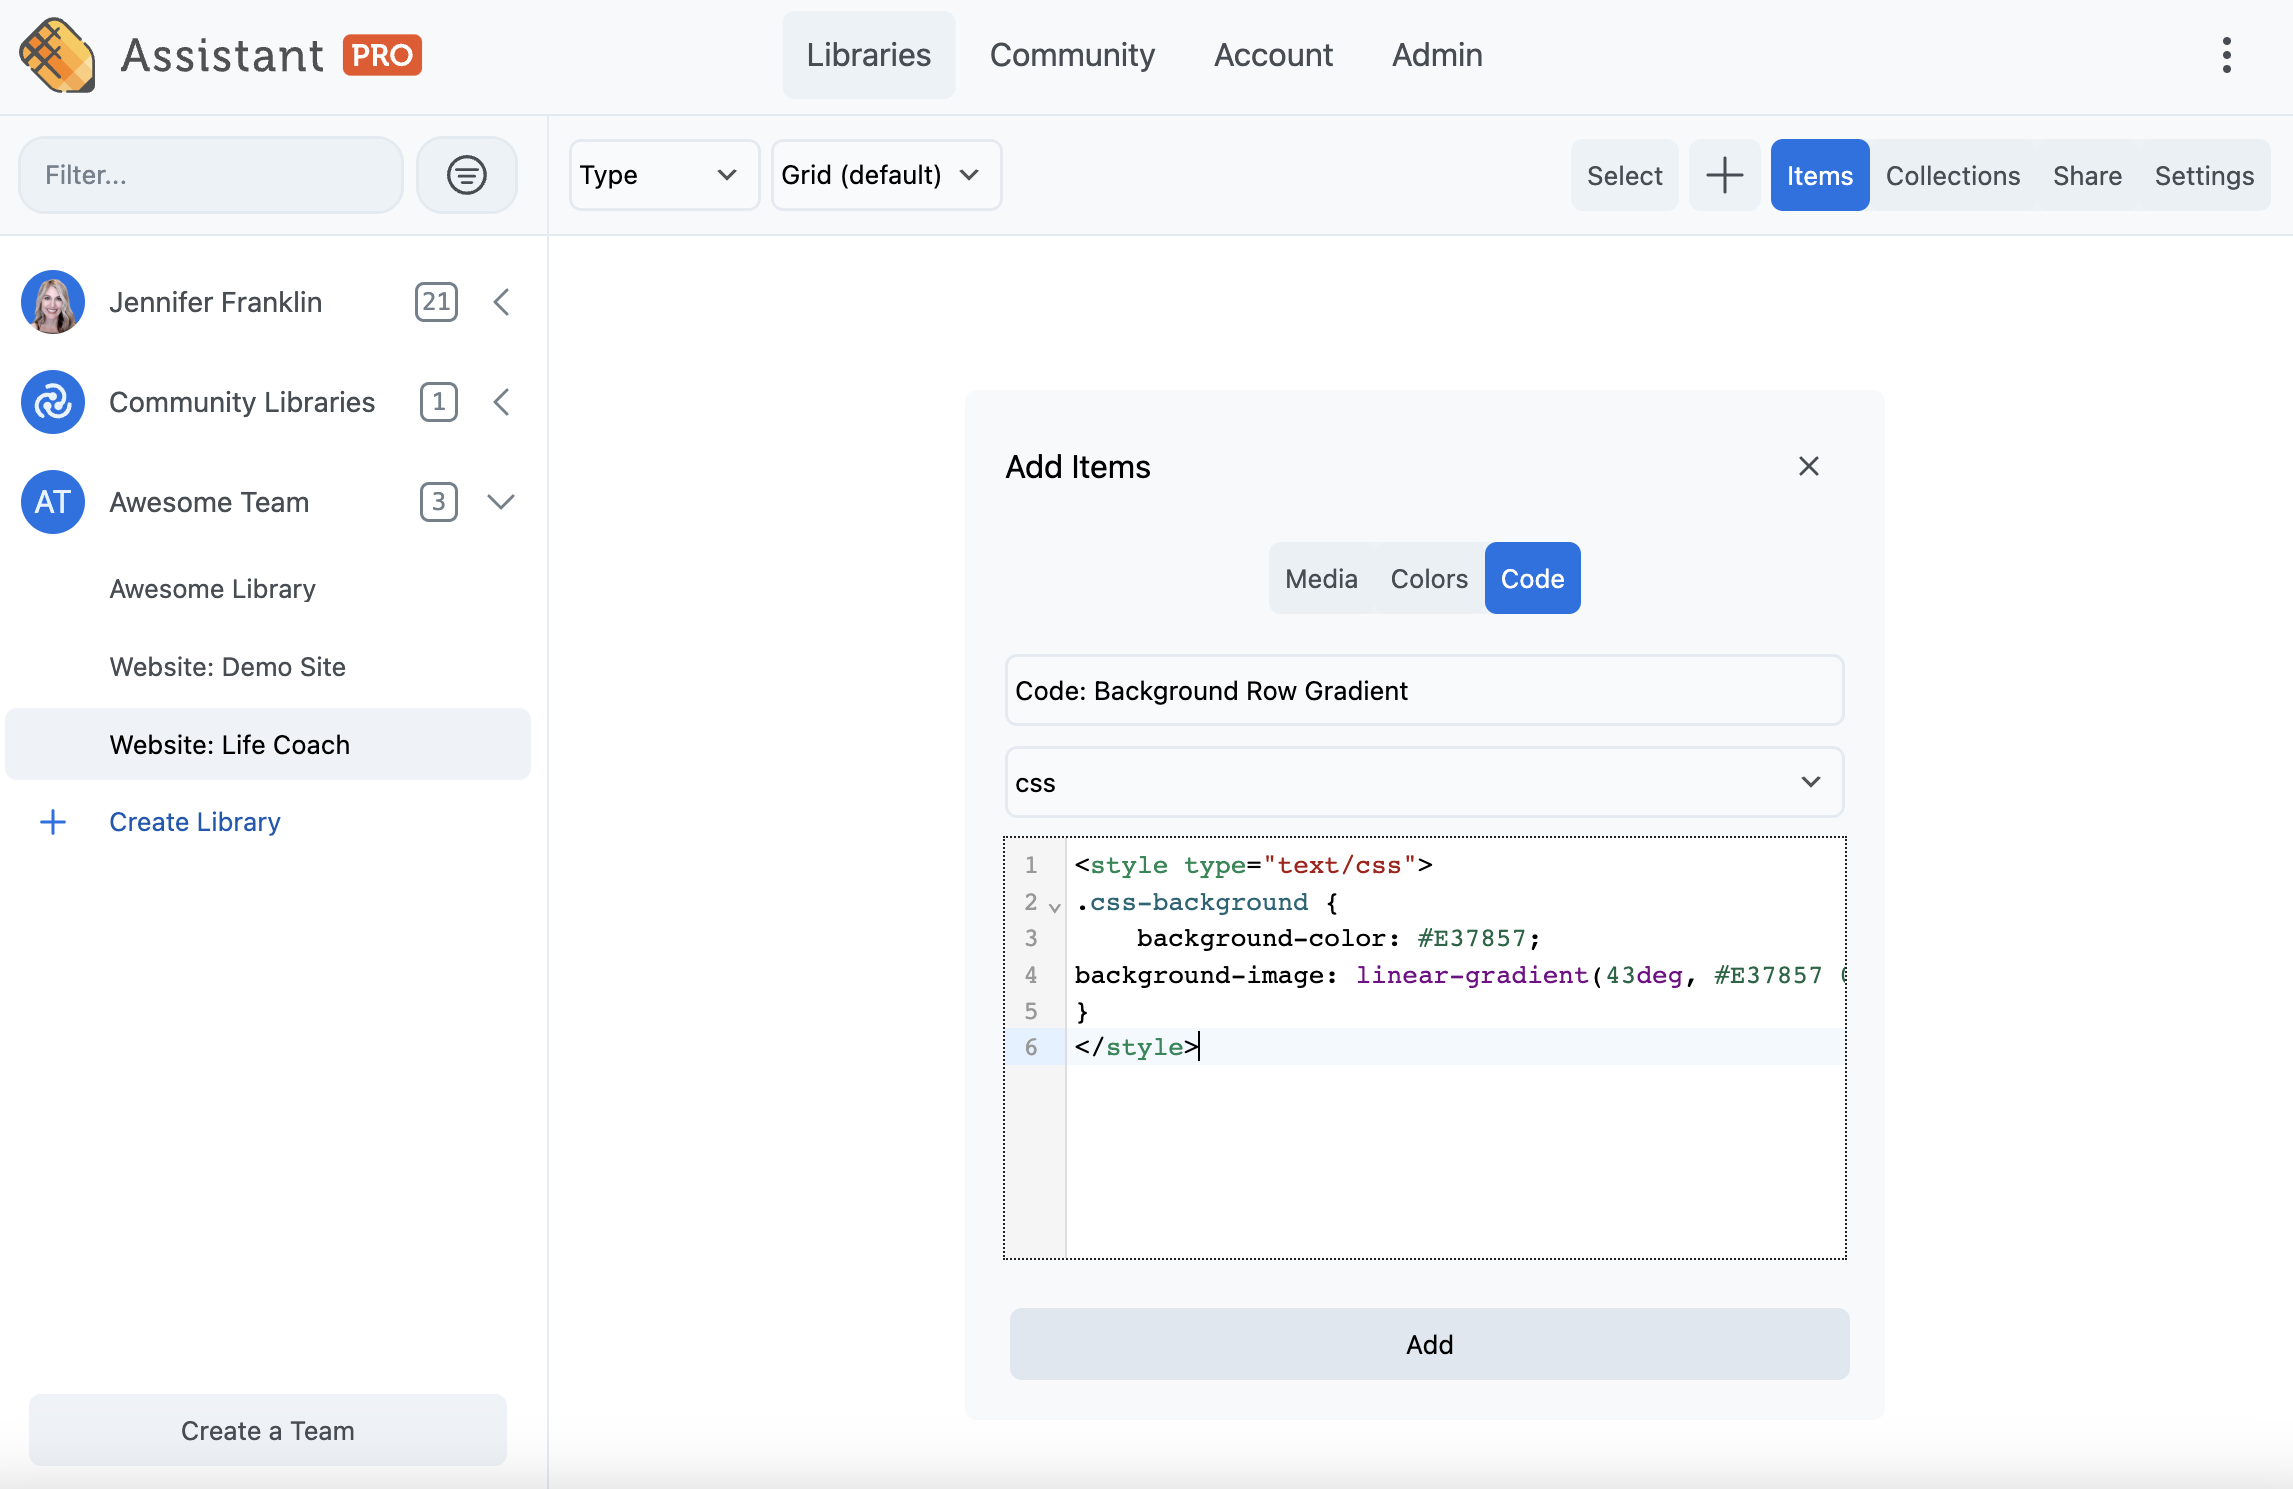
Step 3: Save Content to Assistant Pro From WordPress
Another exciting feature is that you can save content to Assistant Pro directly from WordPress. Open the Assistant panel on your site and click on the Content app.
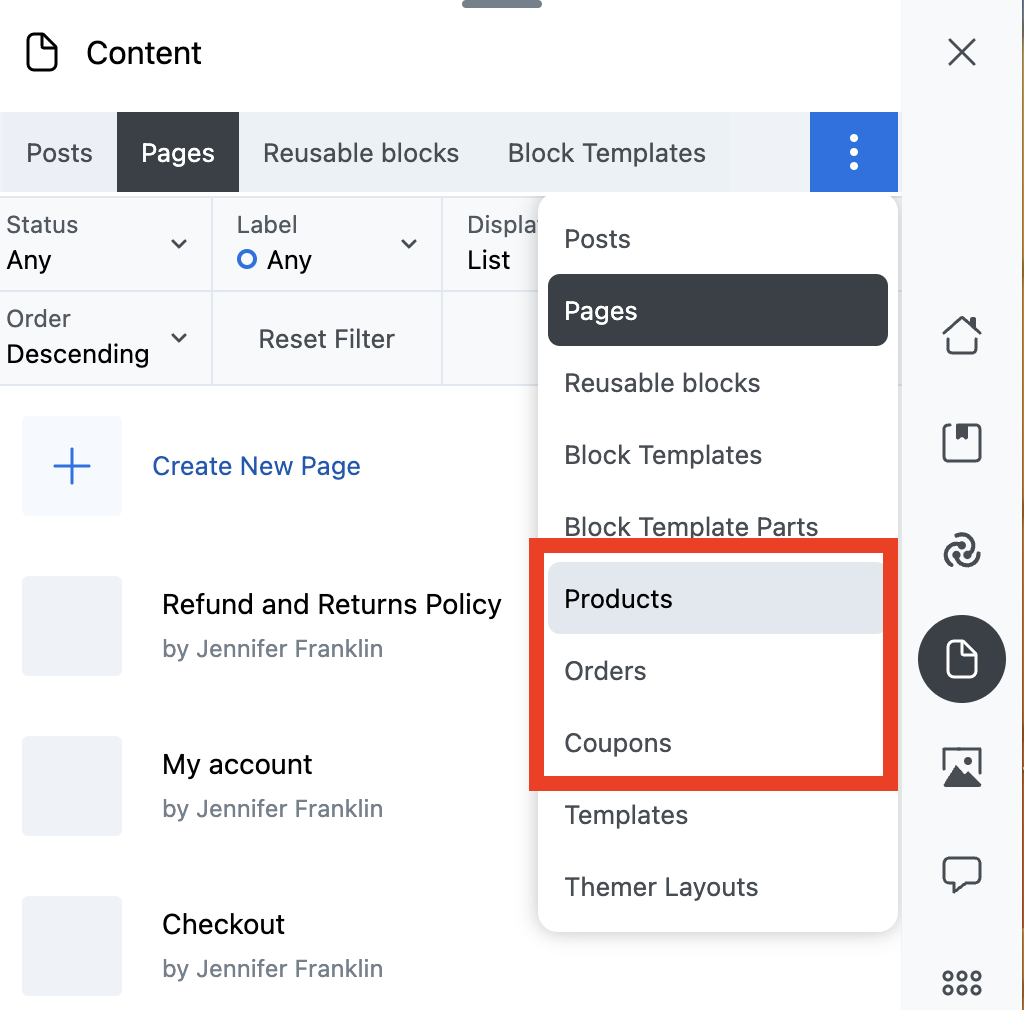
Along the top you will see a number of content types displayed. In this example, we have both Beaver Builder and Beaver Themer installed. Therefore, when we click on the three dots at the end of the row, we see Templates and Themer Layouts:

Note that what you see here may differ depending upon what plugins you have installed on your site. For instance, WooCommerce users will see options for Products, Orders, and Coupons:
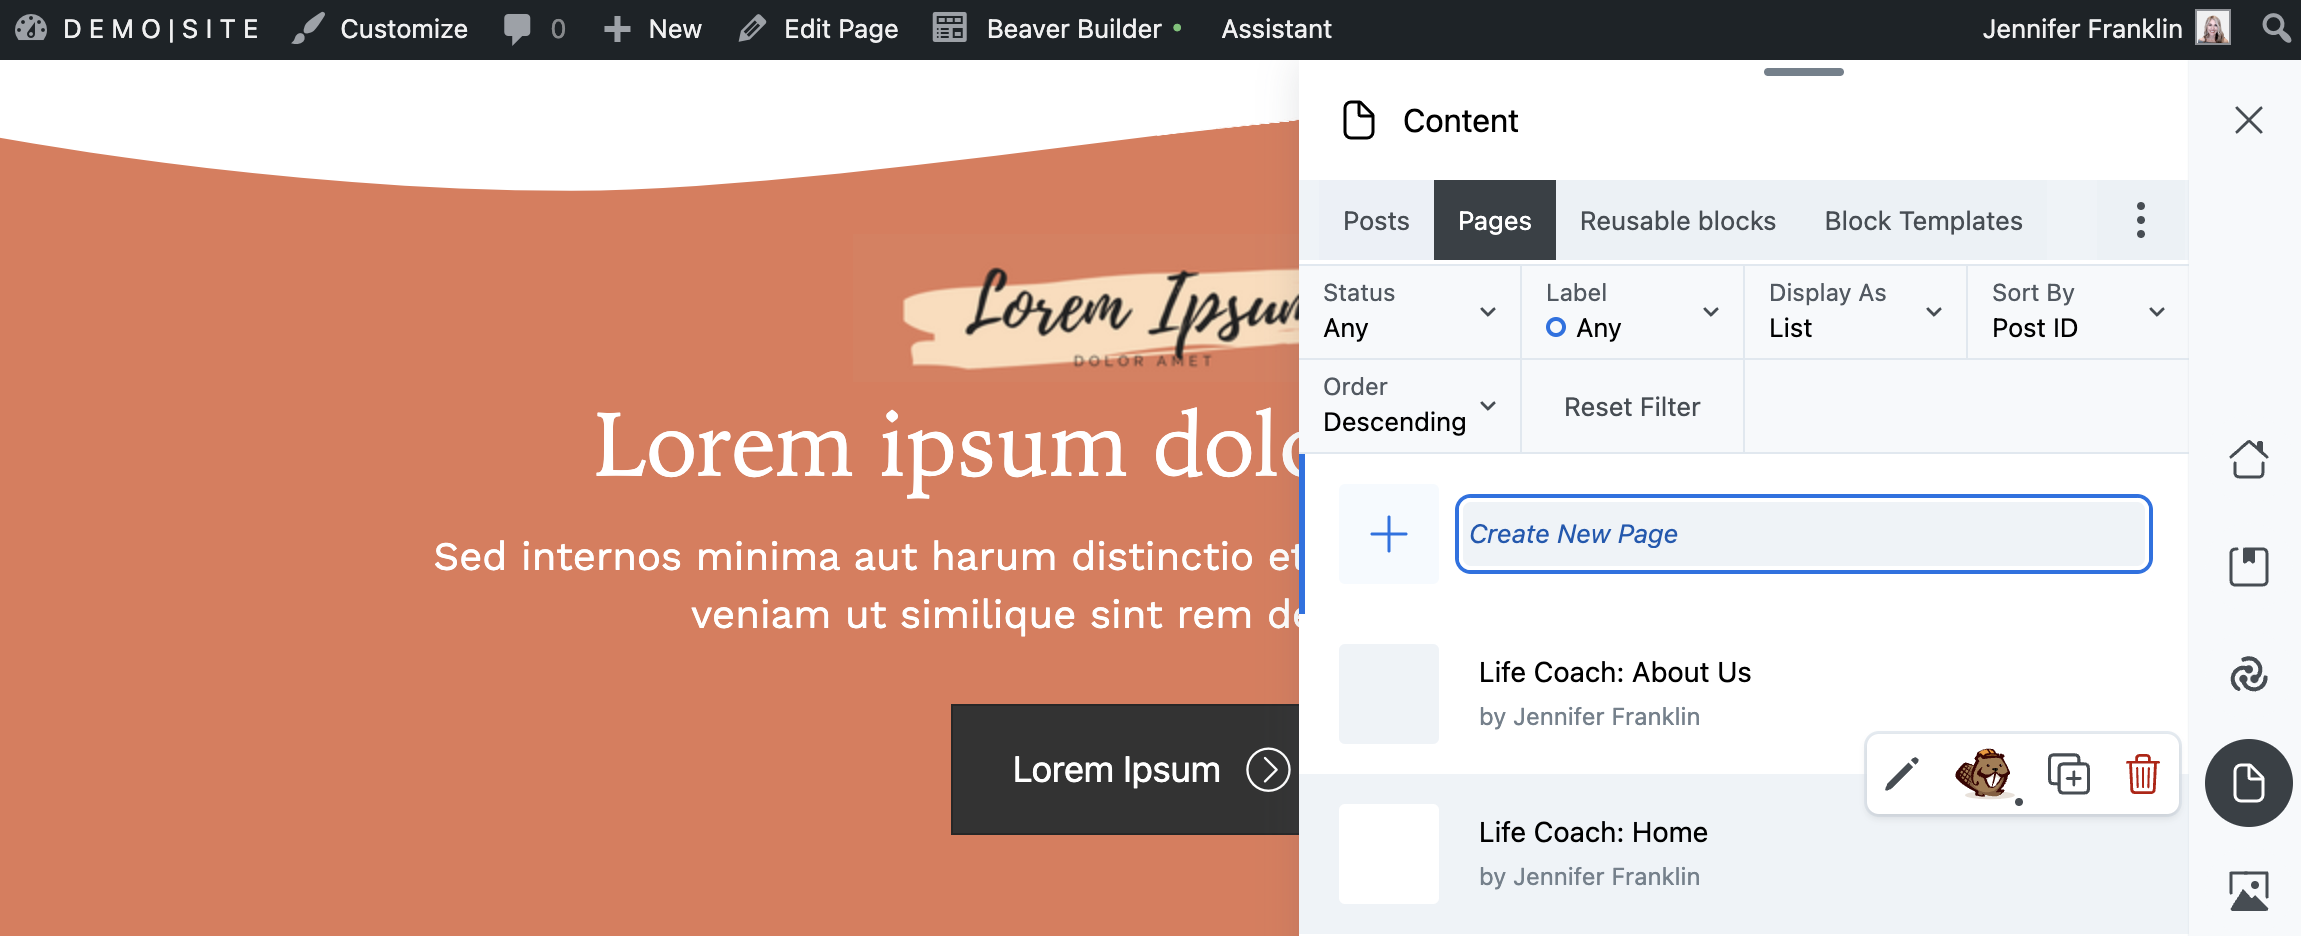
Select the type of content you want to save by clicking on the relevant tab. This will bring up a list of items you have created.
Click on the design asset you want to upload to Assistant Pro. For example, let’s start by saving a home page named “Life Coach: Home”:
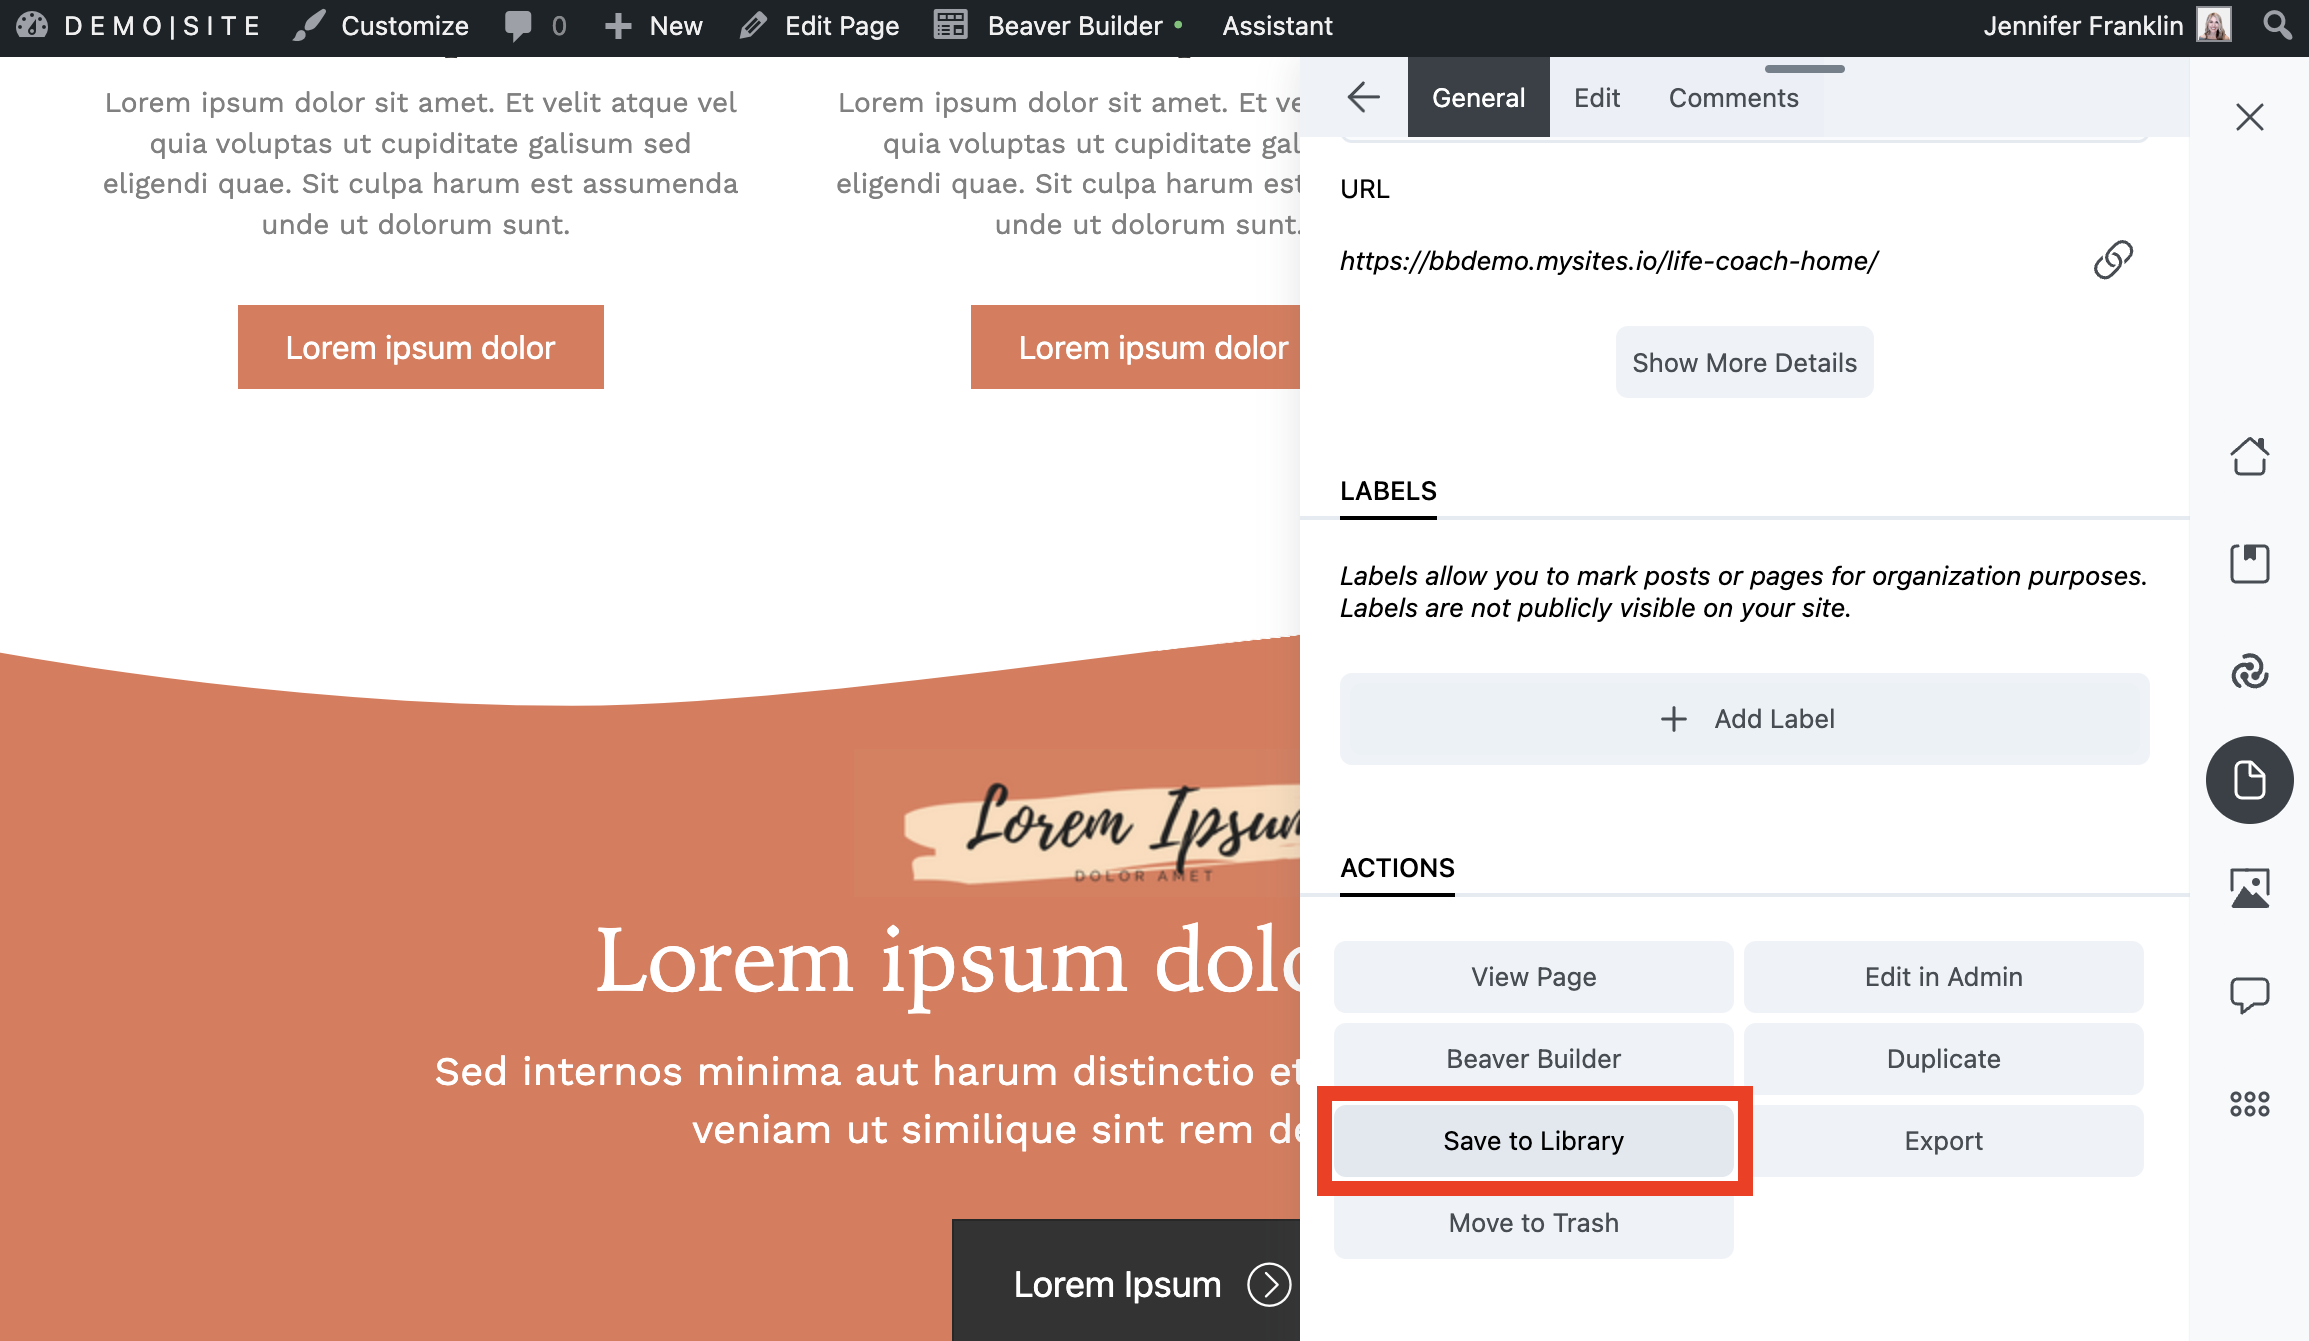
Then, scroll down to the Actions section and select Save to Library:
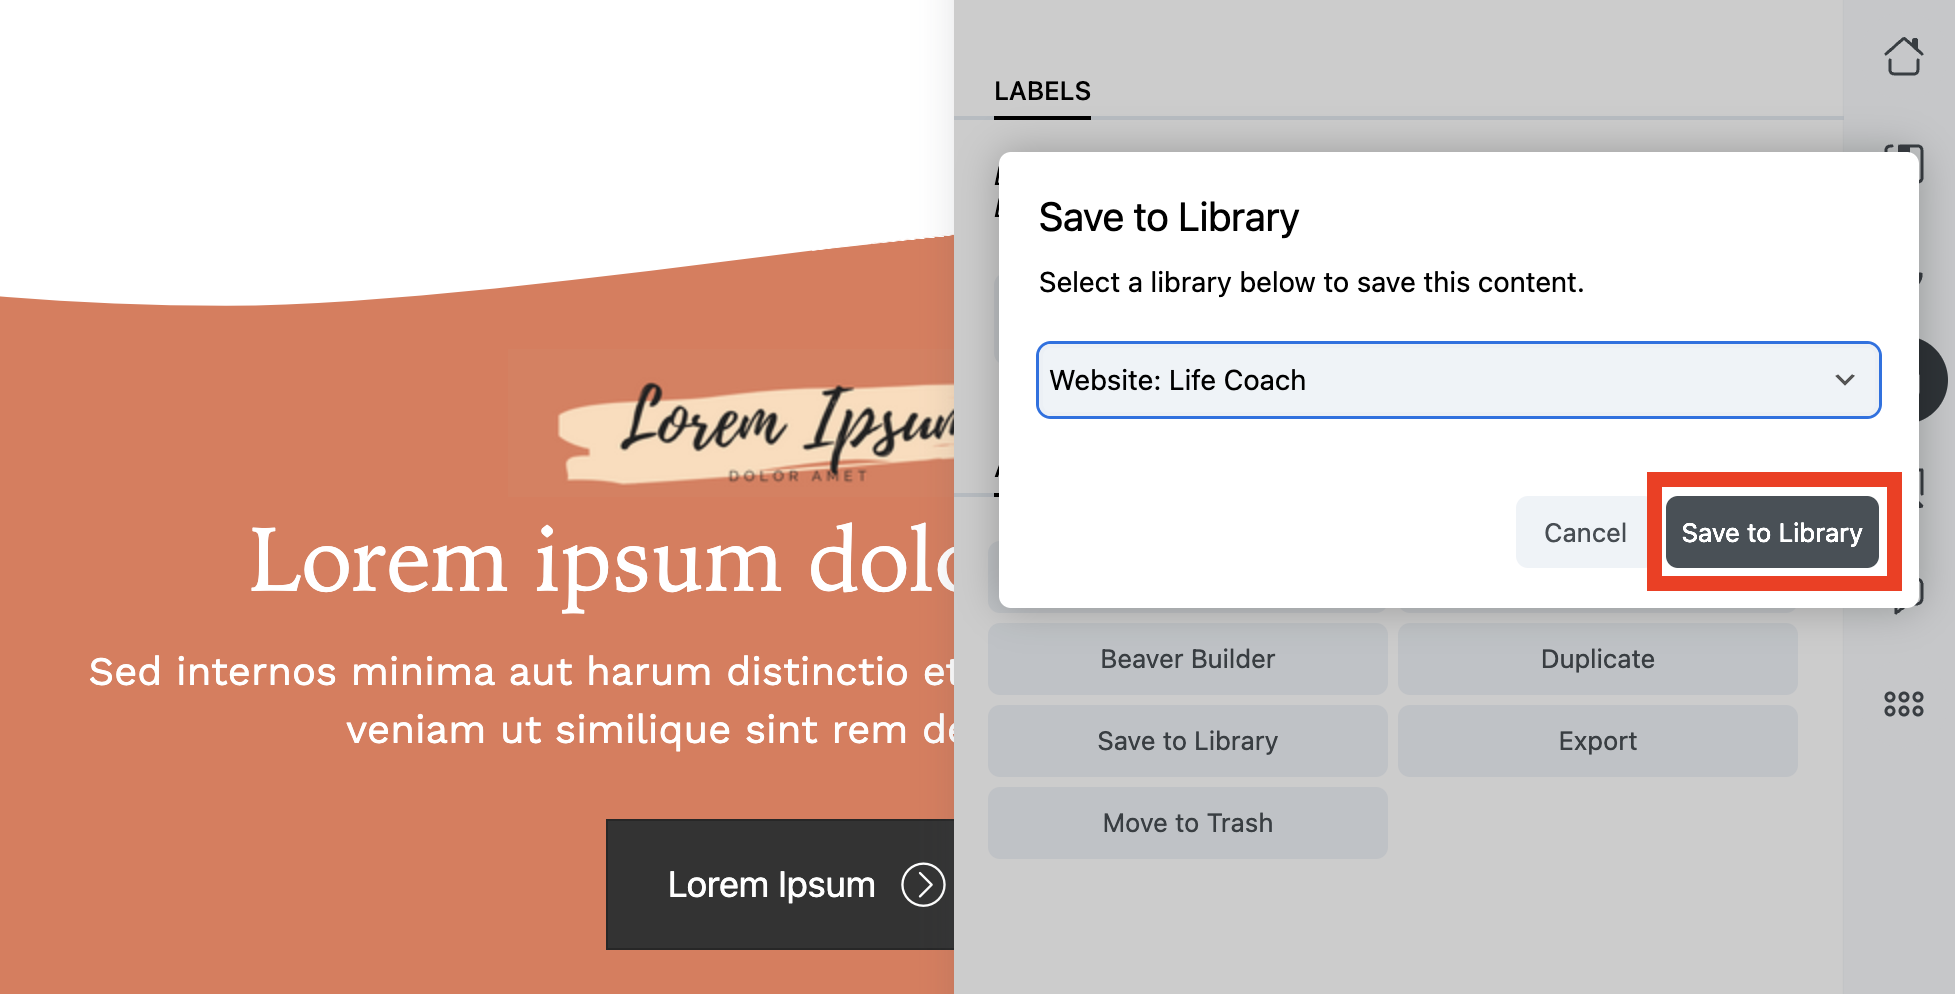
Select the library you want to upload the asset to and click Save to Library again:
To see the items that you have uploaded thus far, navigate to the Library App:
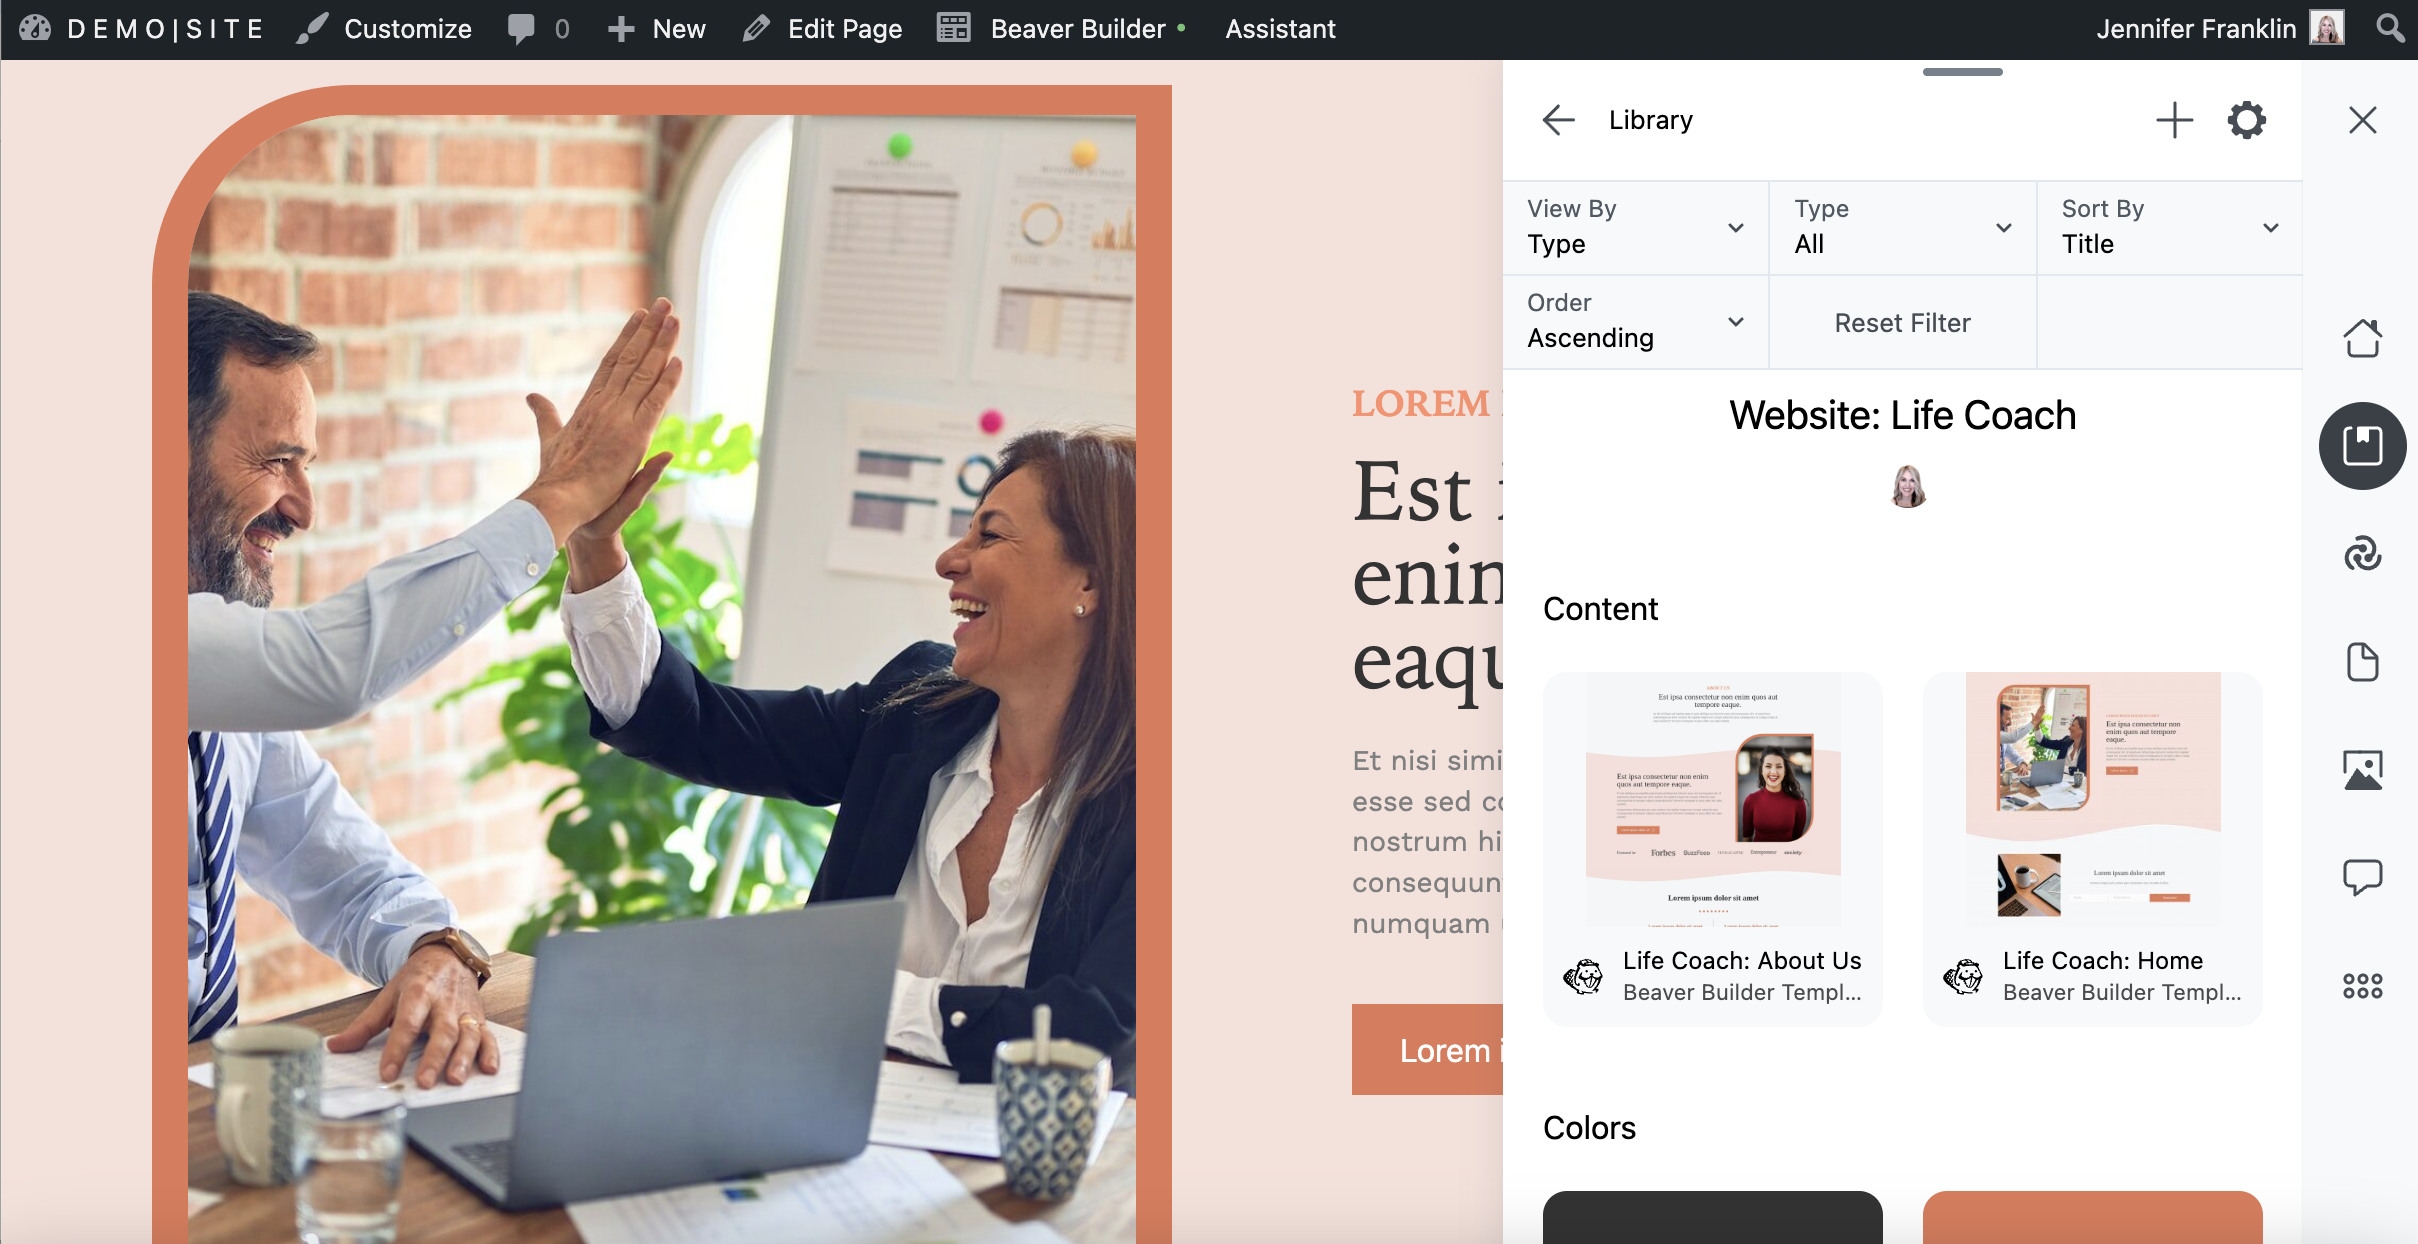
Here, you can continue uploading content by clicking on the Plus icon in the upper right corner. Let’s save your WordPress theme settings. Click the Settings tab. Then, Add Settings:
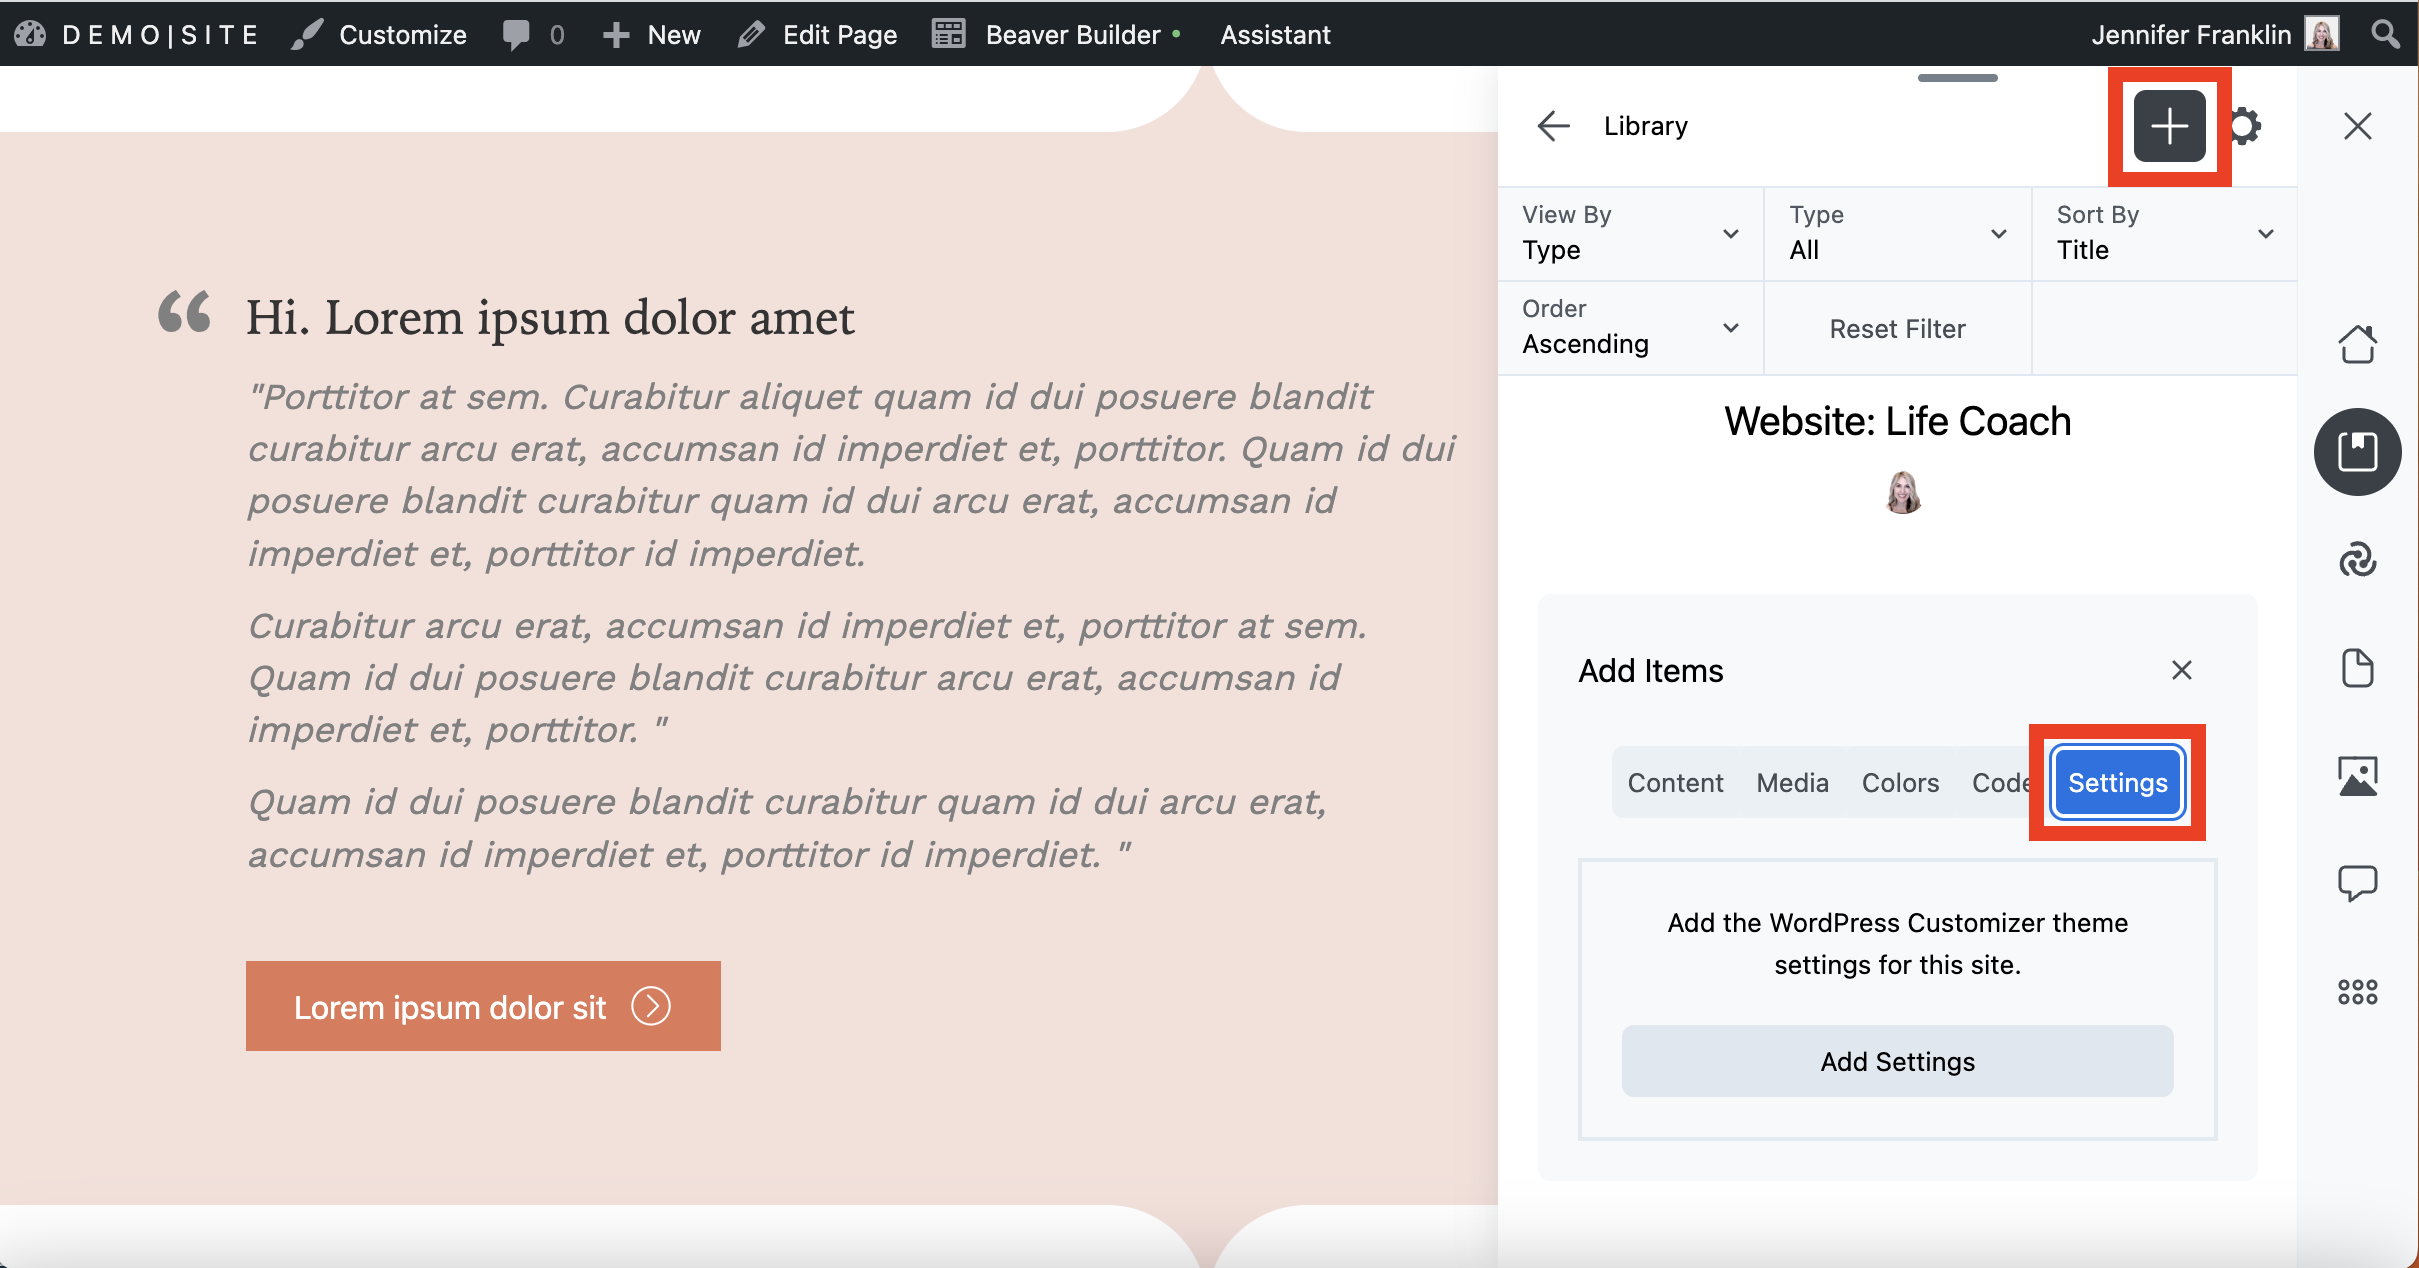
Your WordPress theme settings have been added to the Assistant Pro cloud library.
Step 4: Add Content to Your WordPress Site
Once you’ve added the design assets you want to use to an Assistant Pro library, you can easily import them into any WordPress site (as long as you have the Assistant plugin installed). For instance, you can create a new WordPress site and import the entire library.
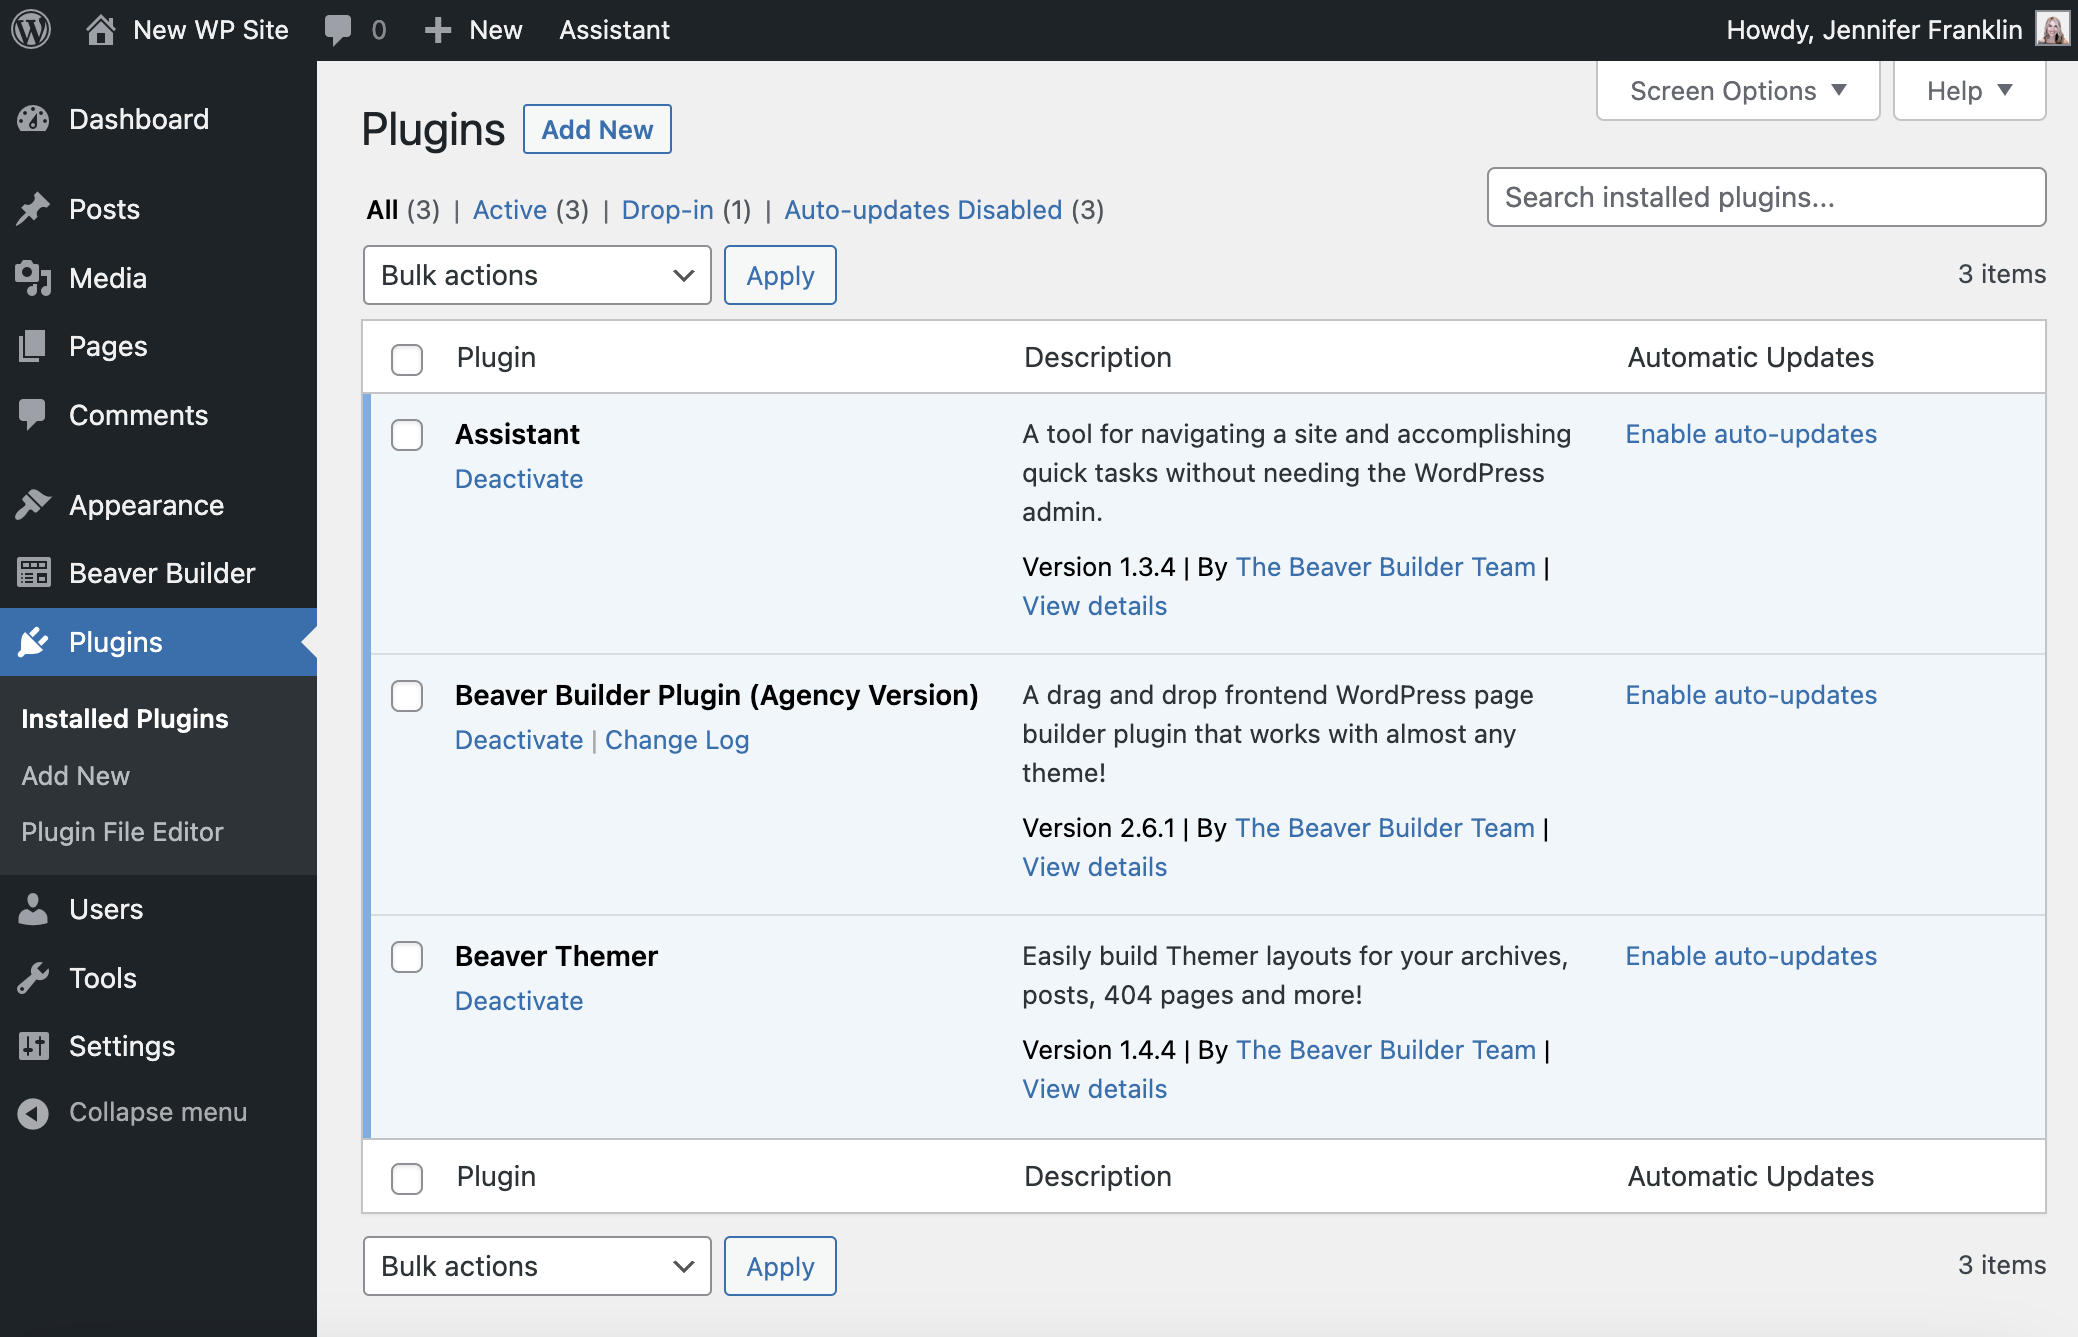
To get started, you’ll first need to be sure that you have the same WordPress theme and plugins installed on the new site.
Since our uploaded library content uses the Beaver Builder theme, page builder plugin, and Beaver Themer add-on, we have uploaded them to our new site:
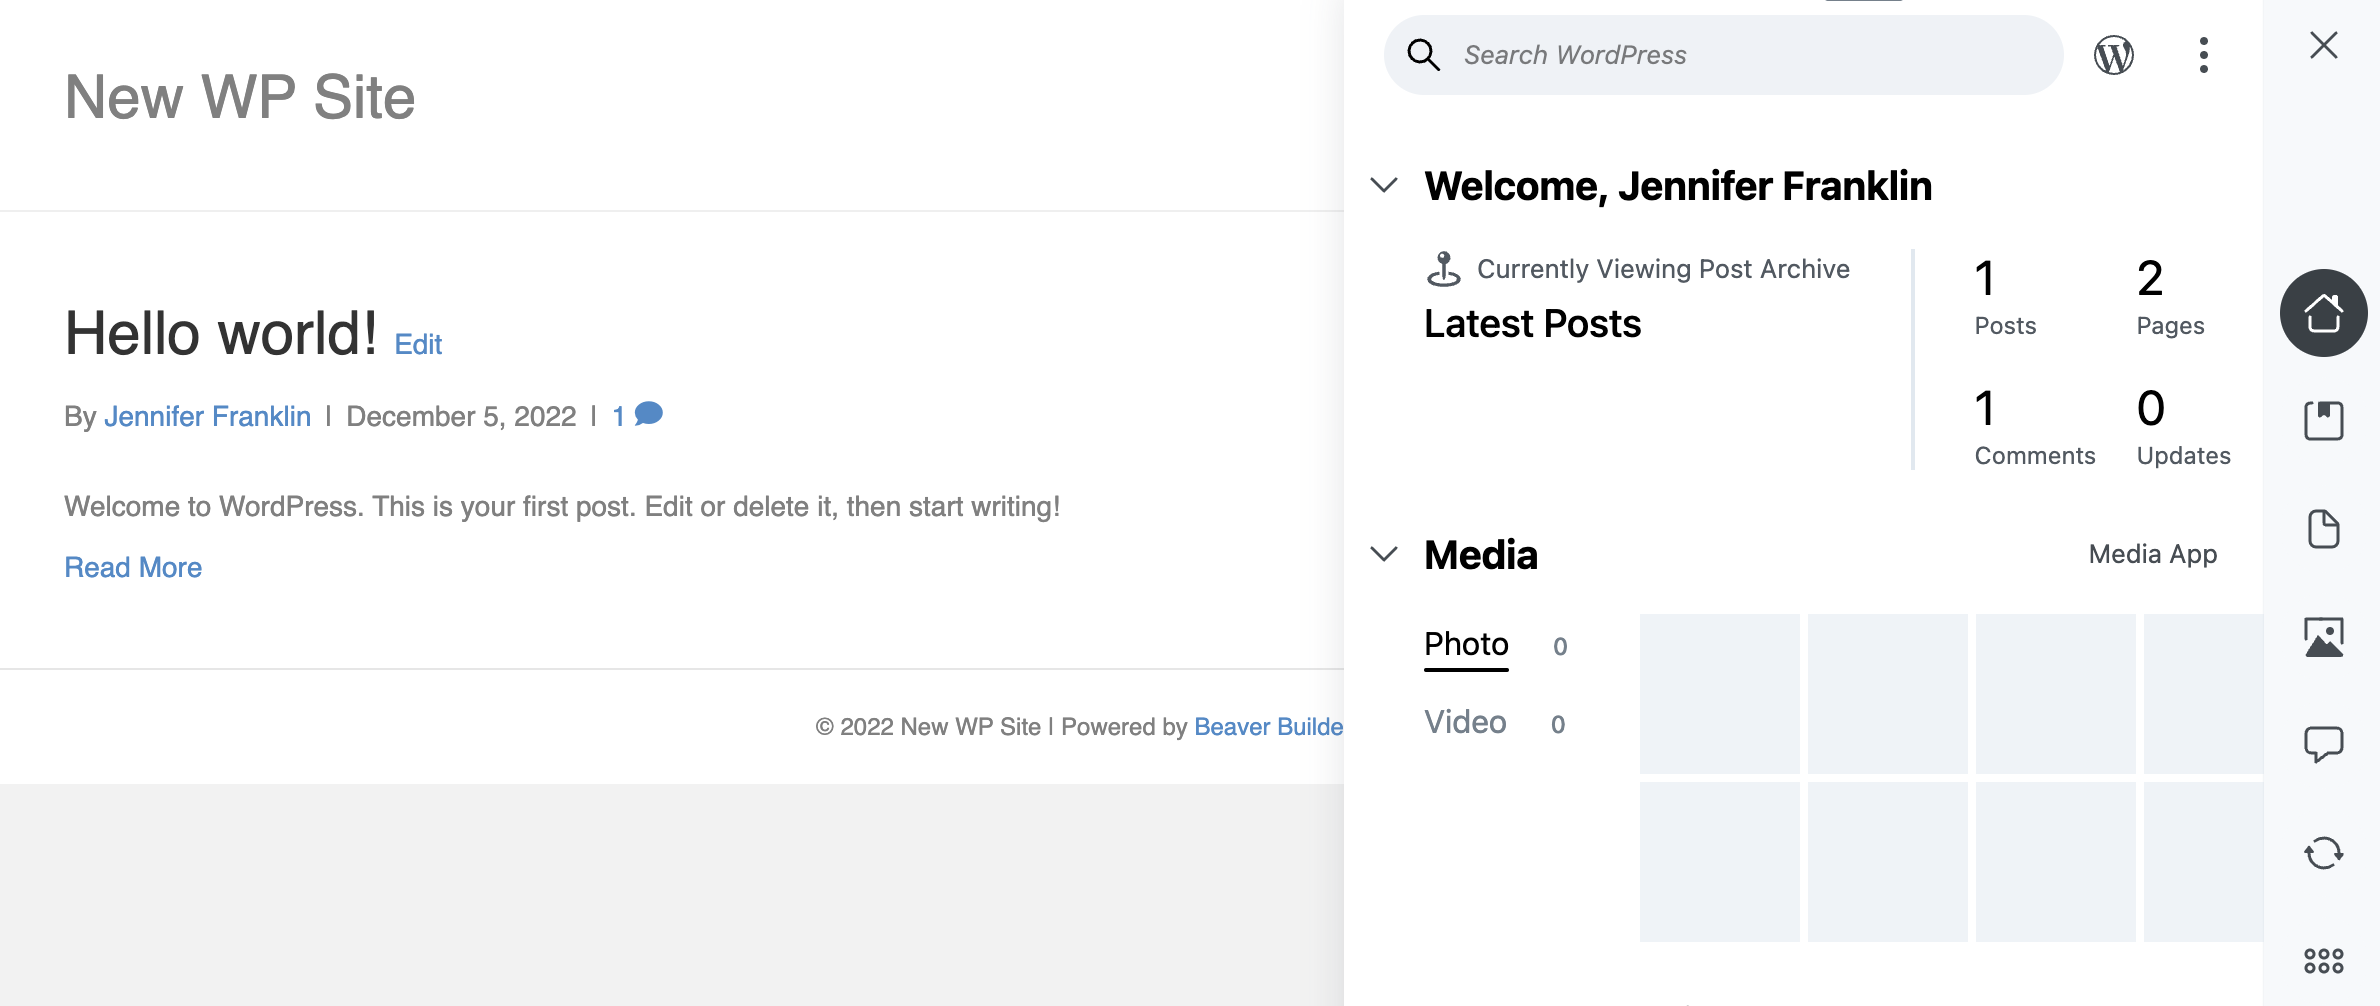
Next, click on Assistant to launch the sidebar panel:
Then, navigate to Libraries and select the library that you just created. To import the entire library, click the gear icon. Scroll down and click Import Library to import all items in this library to your site: 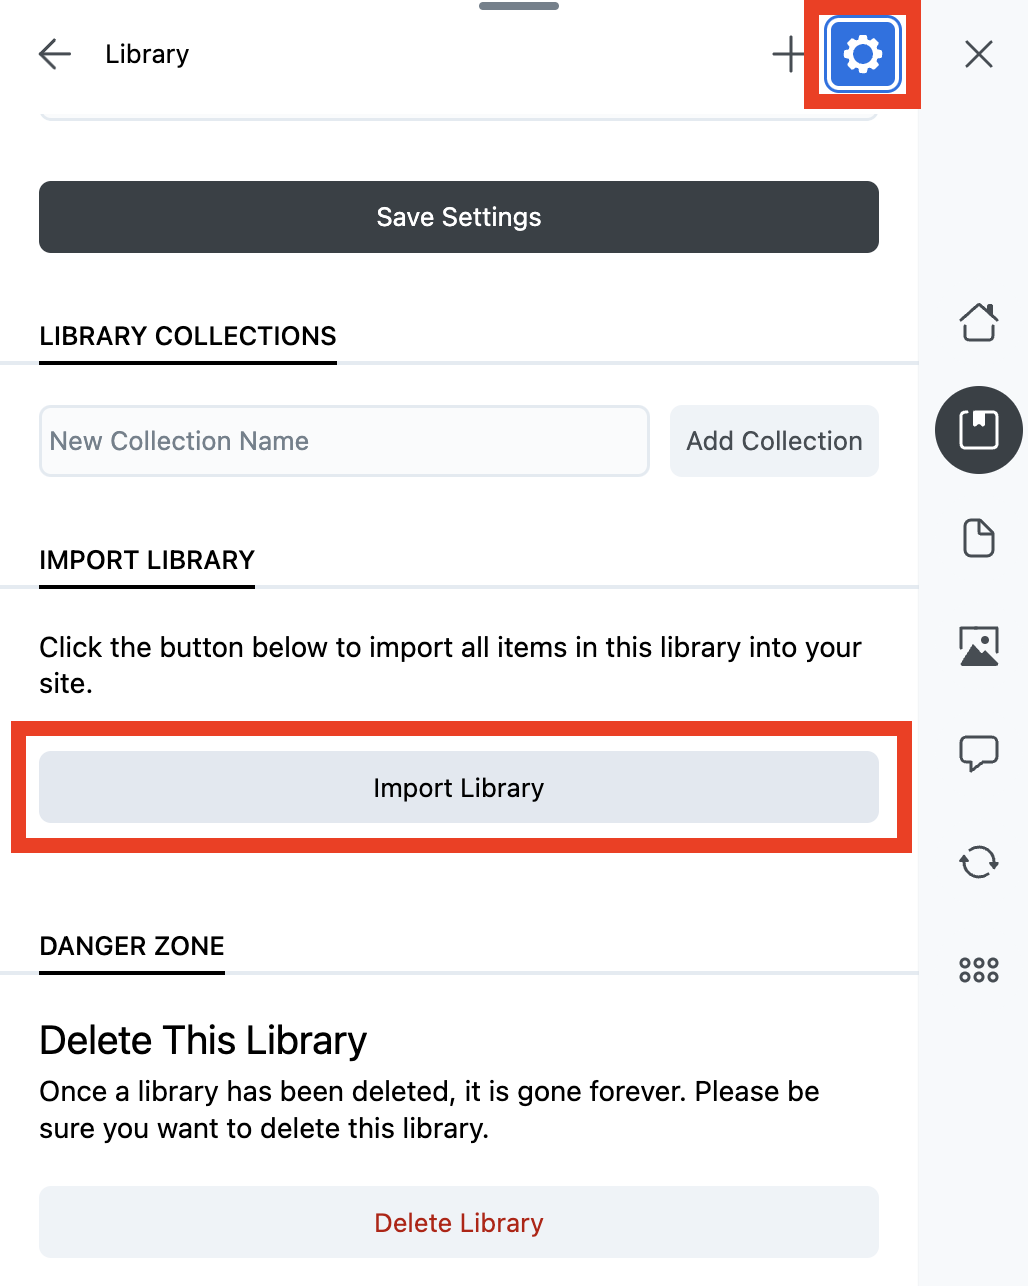
You can also choose to import individual items as opposed to the entire library. For example, if you want to add a WordPress page or block template, locate it in your Assistant libraries and click Import. You can either replace the current page or post with this item or import it separately: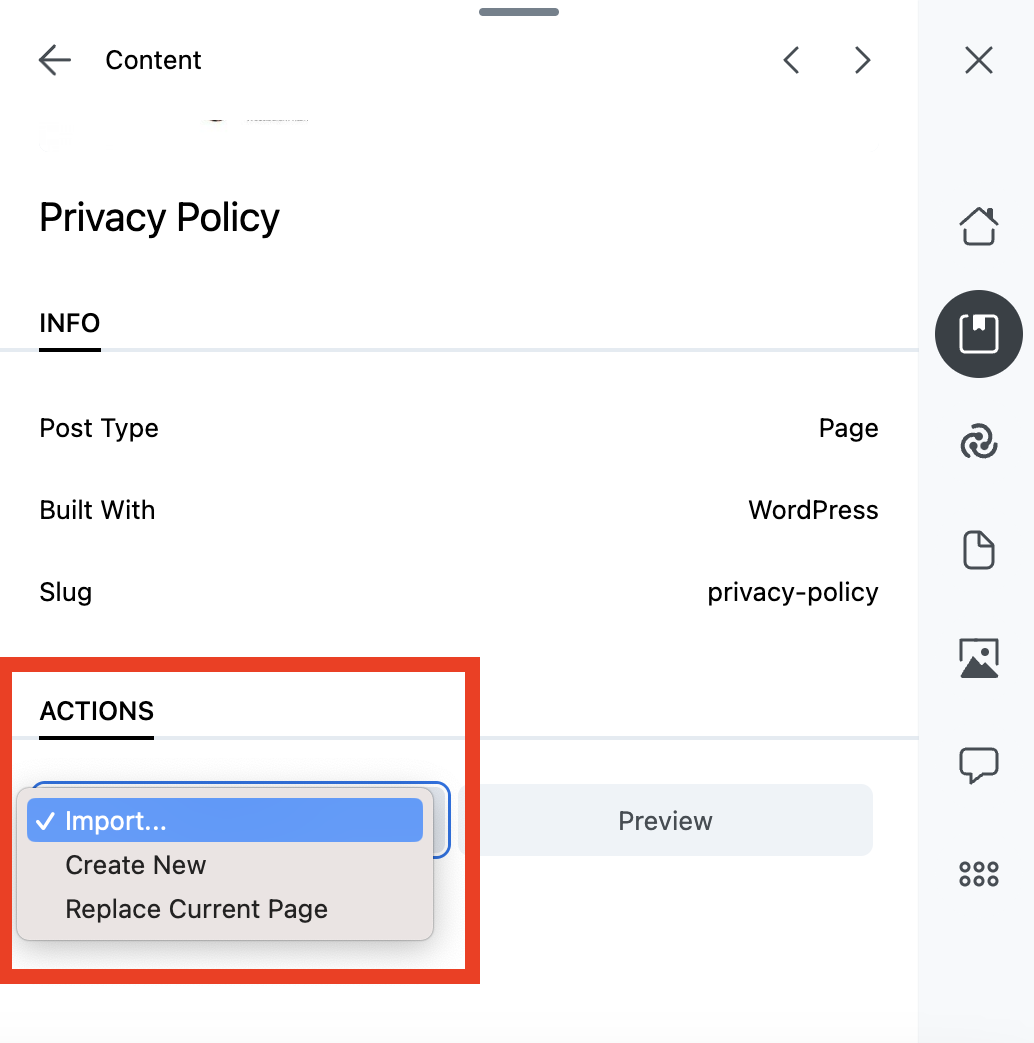 You can select Create New if you want to keep your current page layout. To replace the content on your page, select Replace Current Page. This action will replace the current page with the library item content.
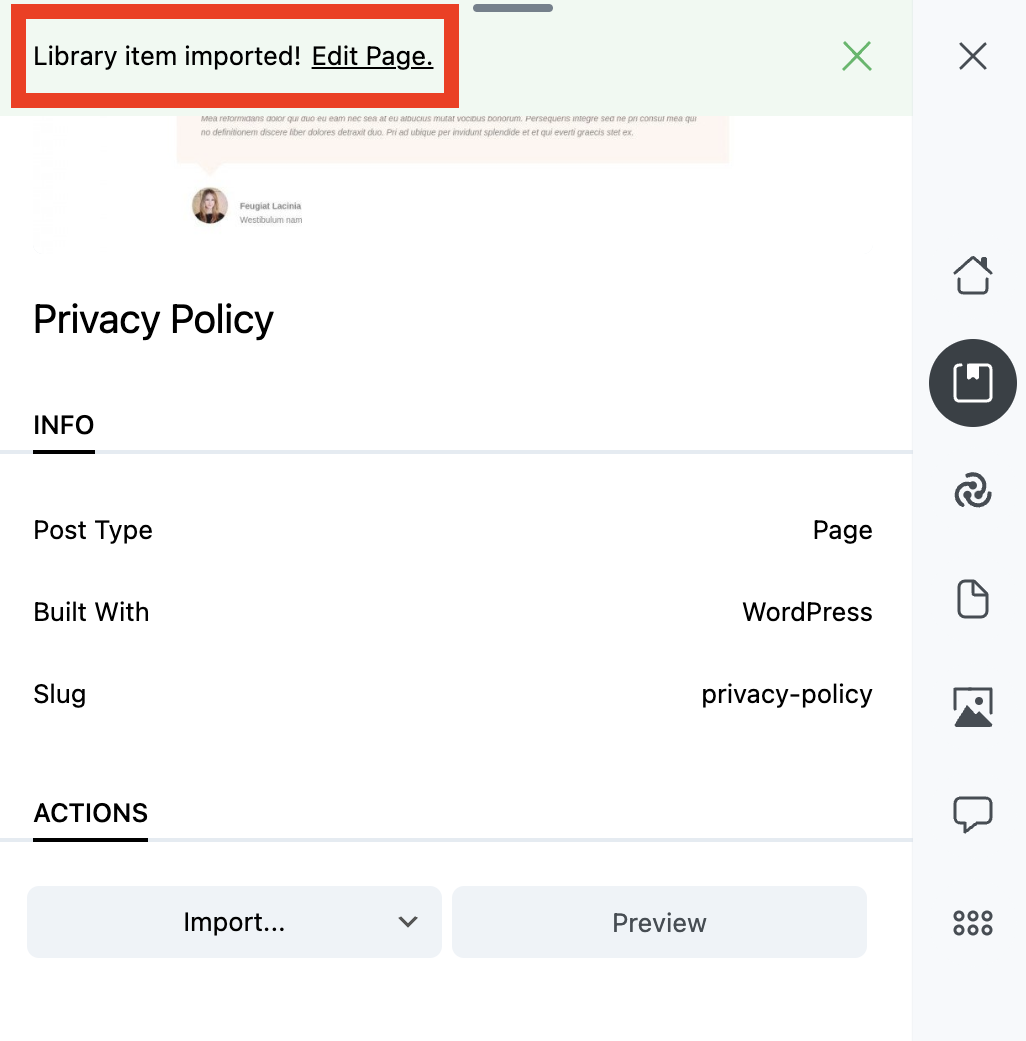
In this case we are going to click Create New. Then, you can navigate to the Content app to view and use the item you’ve just imported. Or, simply click Edit Page to begin editing your newly imported page:
If you’d like to use colors or code snippets saved in your Assistant libraries, you can locate them in the Libraries app:
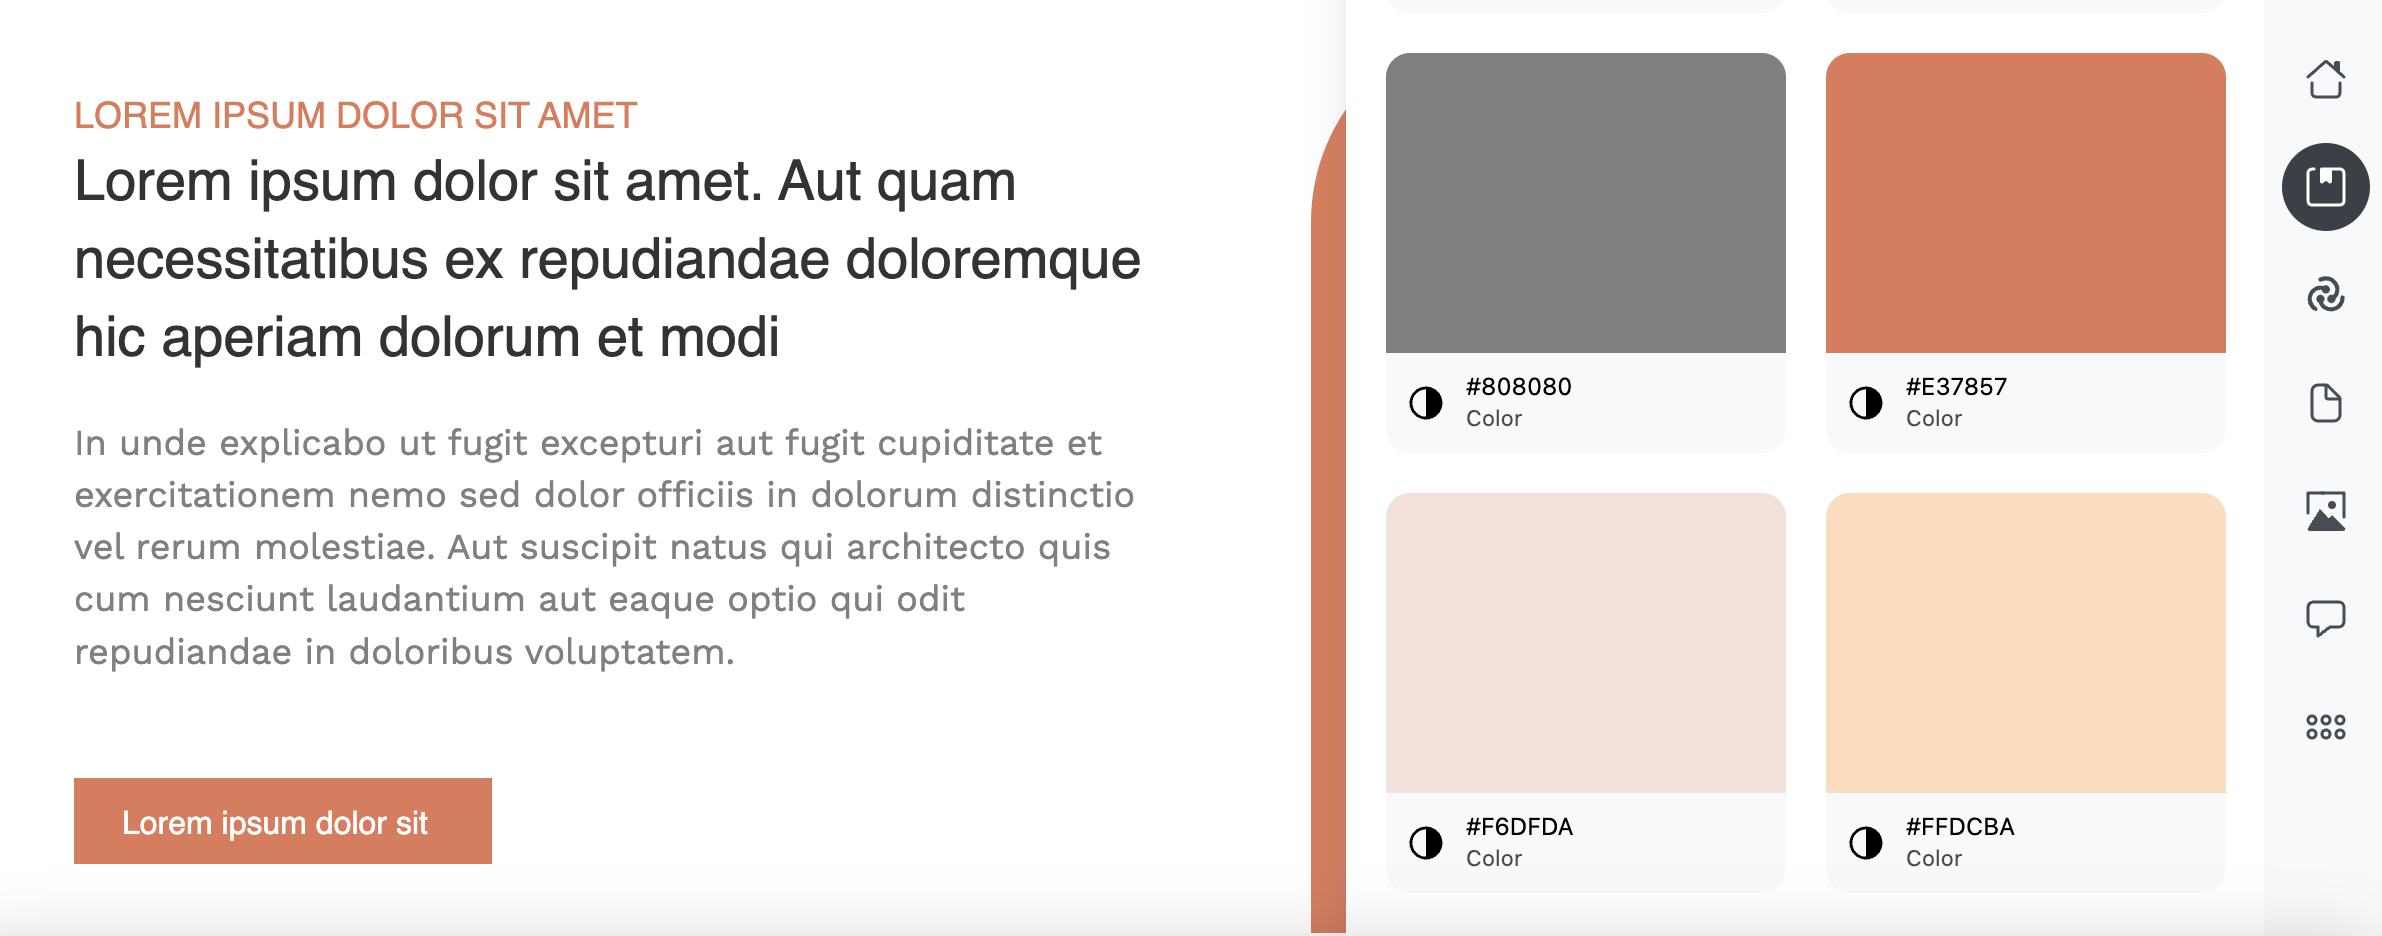
Then, just copy the code and use it anywhere on your site.
Conclusion
If you’re working on multiple projects, you may be looking for an efficient way to reuse design assets like layouts and images across different sites. Assistant Pro lets you easily store creative assets in cloud libraries and import your content into any WordPress site:
- Step 1: Create an Assistant Pro Account
- Step 2: Upload Your Content to Cloud Libraries
- Step 3: Save Content to Assistant Pro from WordPress
- Step 4: Import Library Content to WordPress
Related Questions
What Content Can I Upload to Assistant Pro Libraries?
Assistant Pro lets you save a variety of creative assets to libraries including:
- Media files
- Wireframes
- Page builder templates
- Posts
- Pages
- Gutenberg blocks
- Theme settings
- Color presets
- Code snippets
Once you save these assets to the cloud, they’ll be available to import into any WordPress website. You can then import this content into any WordPress site via the Assistant plugin.
Is Assistant Pro Included With Beaver Builder?
An Assistant Pro premium plan is included free for 6 months with the Beaver Builder Ultimate plan. However, you don’t need to upgrade to a paid Assistant Pro account to get started using the cloud platform. Learn more about the differences between Assistant’s Free, Personal, and Team accounts on the pricing page.